You already know the moment when an audio file becomes a problem. The interview is strong, the performance is usable, the scene works, but the recording is fighting you. A café hum sits under every sentence. A music bed is printed too hot. A vocal take exists only inside a rough bounce. Years ago, that usually meant compromise.
An AI audio splitter changes that workflow. Instead of treating a mixed file as untouchable, you can isolate dialogue, vocals, music, or other elements and make targeted fixes. That matters to podcasters cleaning interviews, video editors rescuing dialogue, musicians pulling stems for remix work, and journalists trying to make field recordings more intelligible.
Table of Contents
- What Is an AI Audio Splitter and Why You Need One
- Getting Started With Your First Audio Separation
- Choosing the Right Quality Modes and Options
- Advanced Controls for Pro-Level Results
- Practical Workflows for Creators and Professionals
- Troubleshooting Common Issues and Best Practices
What Is an AI Audio Splitter and Why You Need One
An AI audio splitter is a tool that separates a mixed audio file into usable parts, often called stems. In practice, that means pulling vocals away from instruments, lifting dialogue away from background sound, or reducing the nonessential material so you can work on the piece that matters.
That's different from ordinary EQ or noise reduction. EQ reshapes the whole file. A splitter tries to identify what each sound source is doing and place it into its own lane. For editors, that's the difference between “make the whole track brighter” and “turn the background music down without burying the speaker.”
The shift isn't small. The global AI-powered audio source separation market is projected to grow from $1.37 billion in 2024 to $5.02 billion by 2029, at a projected 29.6% CAGR, according to this AI-powered audio source separation market projection. That growth tracks with what working creators already feel. Mixed audio is no longer the dead end it used to be.
Where it helps most
- Podcasting: Separate speech from room tone, traffic, hum, or a baked-in music bed.
- Video post: Pull dialogue forward when production audio arrives with too much ambient clutter.
- Music: Extract vocals or instrument groups from a stereo mix for rehearsal, remixing, or arrangement study.
- Research and transcription: Make speech clearer before sending the file into a transcription workflow.
Practical rule: Use an AI audio splitter when your problem is source-specific. If the issue is “too much music” or “I need just the voice,” separation is usually the right first move.
The benefit is control. Once the file is split, you can process each stem differently. That's how professional results happen. You stop treating one damaged mix as one impossible task.
Getting Started With Your First Audio Separation
The first pass should be simple. Don't chase every possible stem or advanced option. Start with one file, one problem, and one target output.
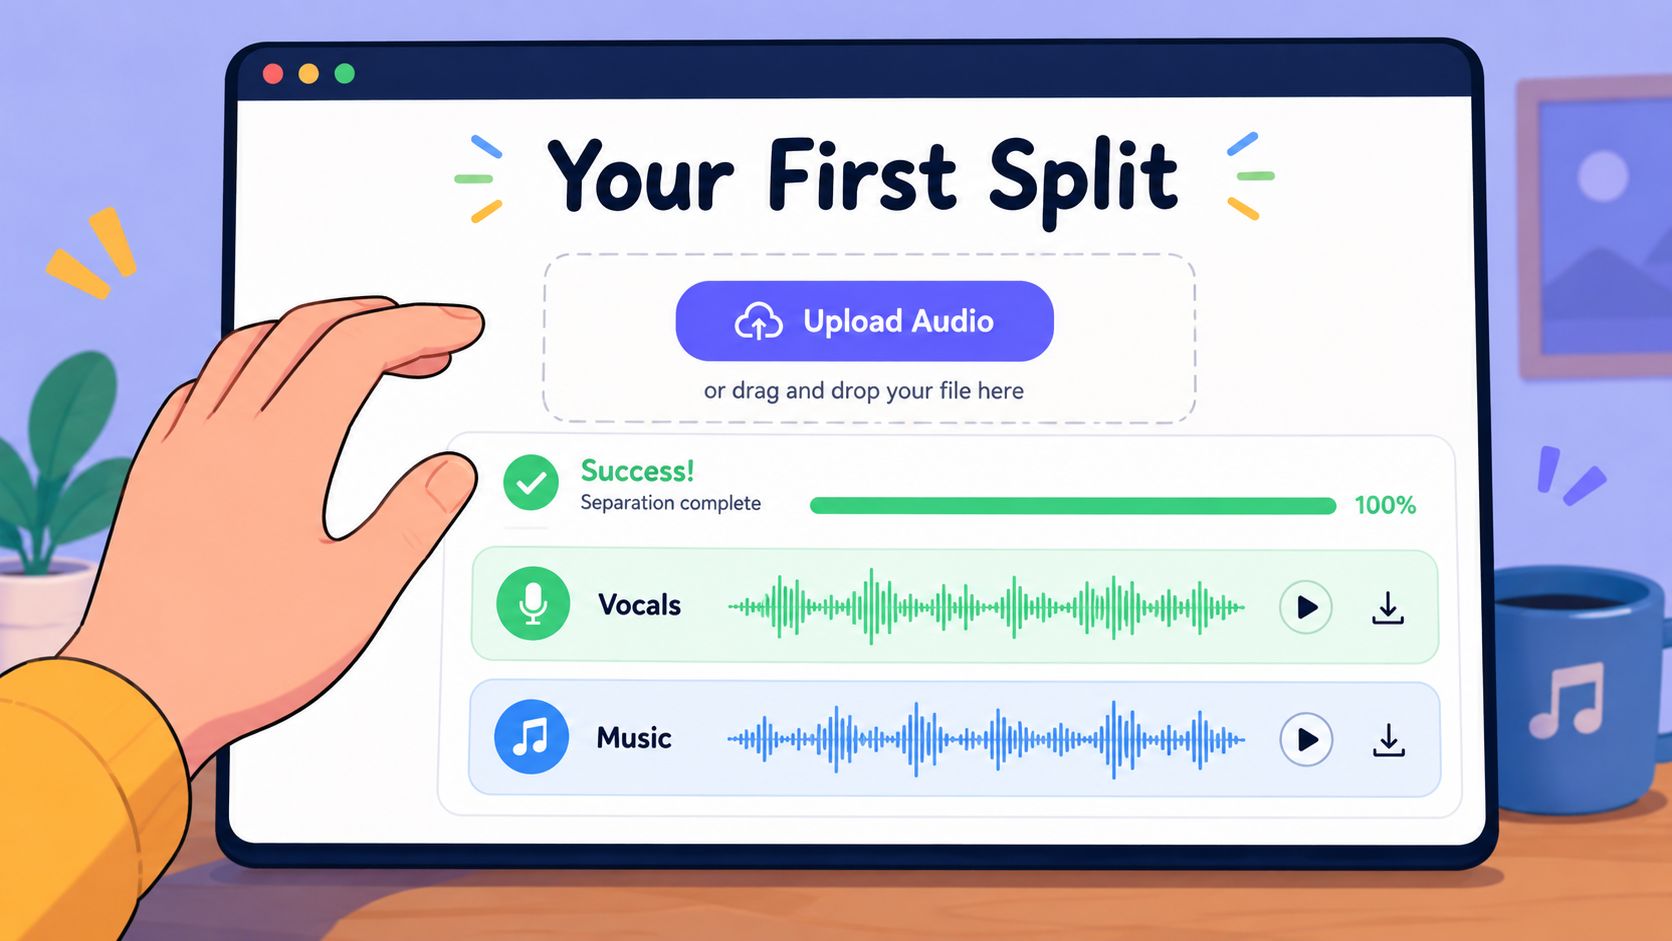
Modern tools are good enough to make that first test surprisingly useful. Vocal isolation typically reaches 90–95% clarity on well-recorded tracks, which is why editors can often recover material they would have written off before, as noted in this overview of AI audio splitter tool performance.
Start with the best file you have
If you have a WAV or FLAC, use that. If all you have is an MP3, it can still work, but don't expect the same result on dense passages or reverbs.
Lossy compression throws away detail the model could have used to distinguish one source from another. In real sessions, that usually shows up as cymbals leaking into vocals, consonants getting fuzzy, or sustained instruments turning watery after separation.
A clean beginner workflow looks like this:
- Import the original full-resolution file if you have it.
- Choose the target you need, such as dialogue, vocals, music, or background.
- Run a standard model first instead of the most extreme preset.
- Export stems and listen outside the browser, ideally on headphones and speakers.
Pick one goal for the first pass
A lot of users make the same mistake. They ask the tool to solve three problems at once. Separate vocals, remove room echo, cut traffic, and preserve every bit of ambience. That's usually where mediocre results start.
Pick the priority. If you're editing an interview, isolate speech first. If you're building a karaoke or rehearsal track, isolate vocals or remove them first. If you're cutting a scene, start with dialogue extraction, then clean the dialogue stem afterward.
The first pass should answer one question: did the tool identify the right source?
Once that answer is yes, the rest becomes normal post work. You can denoise a dialogue stem, automate levels on a vocal stem, or duck a music stem under narration.
Later in the process, it helps to watch a quick separation workflow in action:
Judge the output like an editor
Don't judge the result by soloing a stem for ten minutes. Judge it in context.
A vocal stem may sound slightly unnatural by itself and still sit perfectly once you place it back into a mix. The opposite is also true. A stem that sounds impressive in solo can fail when you try to cut it against music or sync it to picture.
Listen for these things on the first pass:
- Speech edges: Are consonants intact, or have T, K, and S sounds gone soft?
- Background residue: Is there acceptable low-level bleed, or is music still competing with the voice?
- Reverb tails: Do room reflections smear the stem after phrases?
- Phasey texture: Does the source feel hollow or swirly when summed back into your project?
If the source is mostly right, you've got a usable starting point. That's the threshold that matters.
Choosing the Right Quality Modes and Options
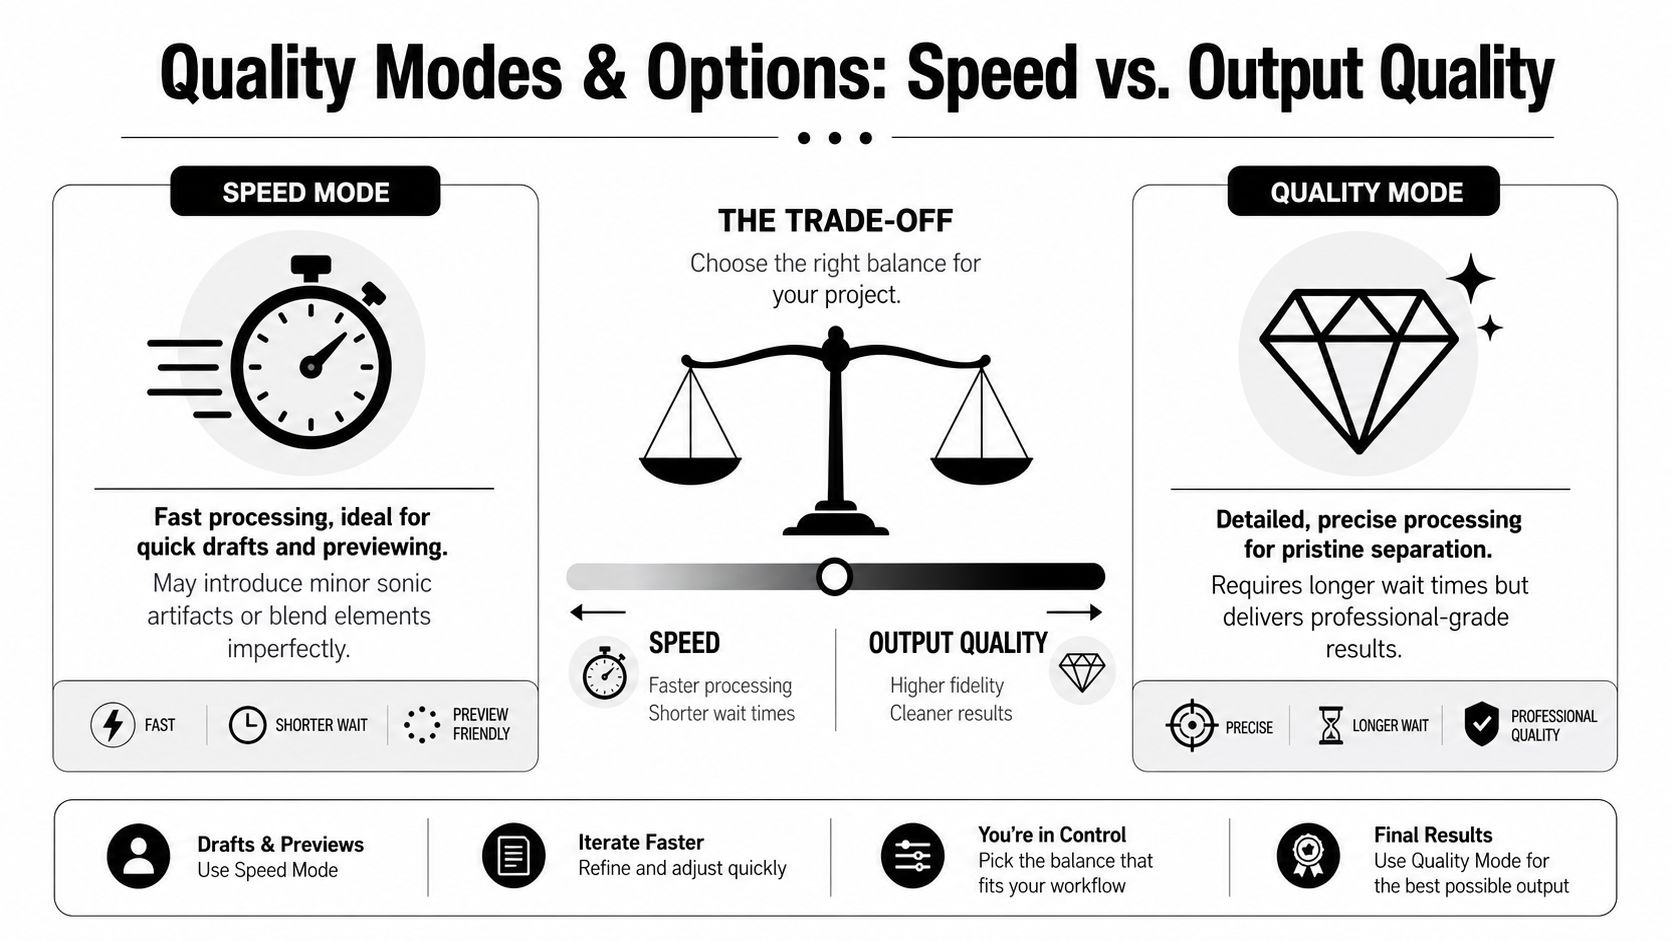
Quality modes in an AI audio splitter work a lot like preview resolution in video editing. A quick mode helps you decide. A higher-fidelity mode is what you trust for delivery.
The key trade-off is simple. Fast cloud models can return results in under a minute, but that speed can come with more inter-stem bleed because they sacrifice some of the “spatial memory” slower offline models preserve, as discussed in this analysis of latency versus fidelity in source separation models.
Fast mode versus finish mode
Fast modes are for decisions. You're checking whether the dialogue can be salvaged, whether the lead vocal separates cleanly enough, or whether the music stem will be useful for a rough cut.
Higher-quality modes are for output you plan to mix, publish, or hand off. They usually preserve more detail, reduce bleed, and handle overlapping material better.
Here's the practical distinction:
- Use speed-focused processing when you're auditioning takes, testing a source file, or turning around an internal draft.
- Use quality-focused processing when the stem will be exposed in the final piece.
- Rerun critical excerpts if only one verse, interview answer, or scene is causing trouble. You don't always need to rerender the entire project.
What artifacts actually sound like
Editors often know something is wrong but don't have a word for it. That makes troubleshooting slower.
Common separation artifacts include:
| Artifact | What you hear | Typical cause |
|---|---|---|
| Bleed | Another source faintly remains in the stem | Dense overlap between sources |
| Phasing | Hollow or comb-filtered texture | Aggressive fast processing or poor reconstruction |
| Wateriness | Swirling, unstable highs | Lossy input or low-fidelity mode |
| Smear | Attacks lose definition | Complex material separated too broadly |
Listen for the failure, not the promise. If the vocal sounds clean until the chorus hits, the chorus is the real test.
A simple decision table
Different jobs need different tolerance levels. A rough YouTube cut can survive minor artifacting that would be distracting in a narrative film or exposed podcast intro.
- Podcast dialogue edit: Favor cleaner speech over perfect ambience.
- YouTube rough cut: Fast mode is often enough to prove whether a scene can be rescued.
- Music stem for remixing: Wait for the highest-fidelity option you can access.
- Broadcast or client delivery: Always review the stem against the final mix, not in solo only.
If you're unsure, render a short difficult section in both a fast mode and a high-quality mode. Compare the exact same phrase, not two different parts of the file. That's the quickest way to hear whether the extra processing time buys you anything meaningful.
Advanced Controls for Pro-Level Results
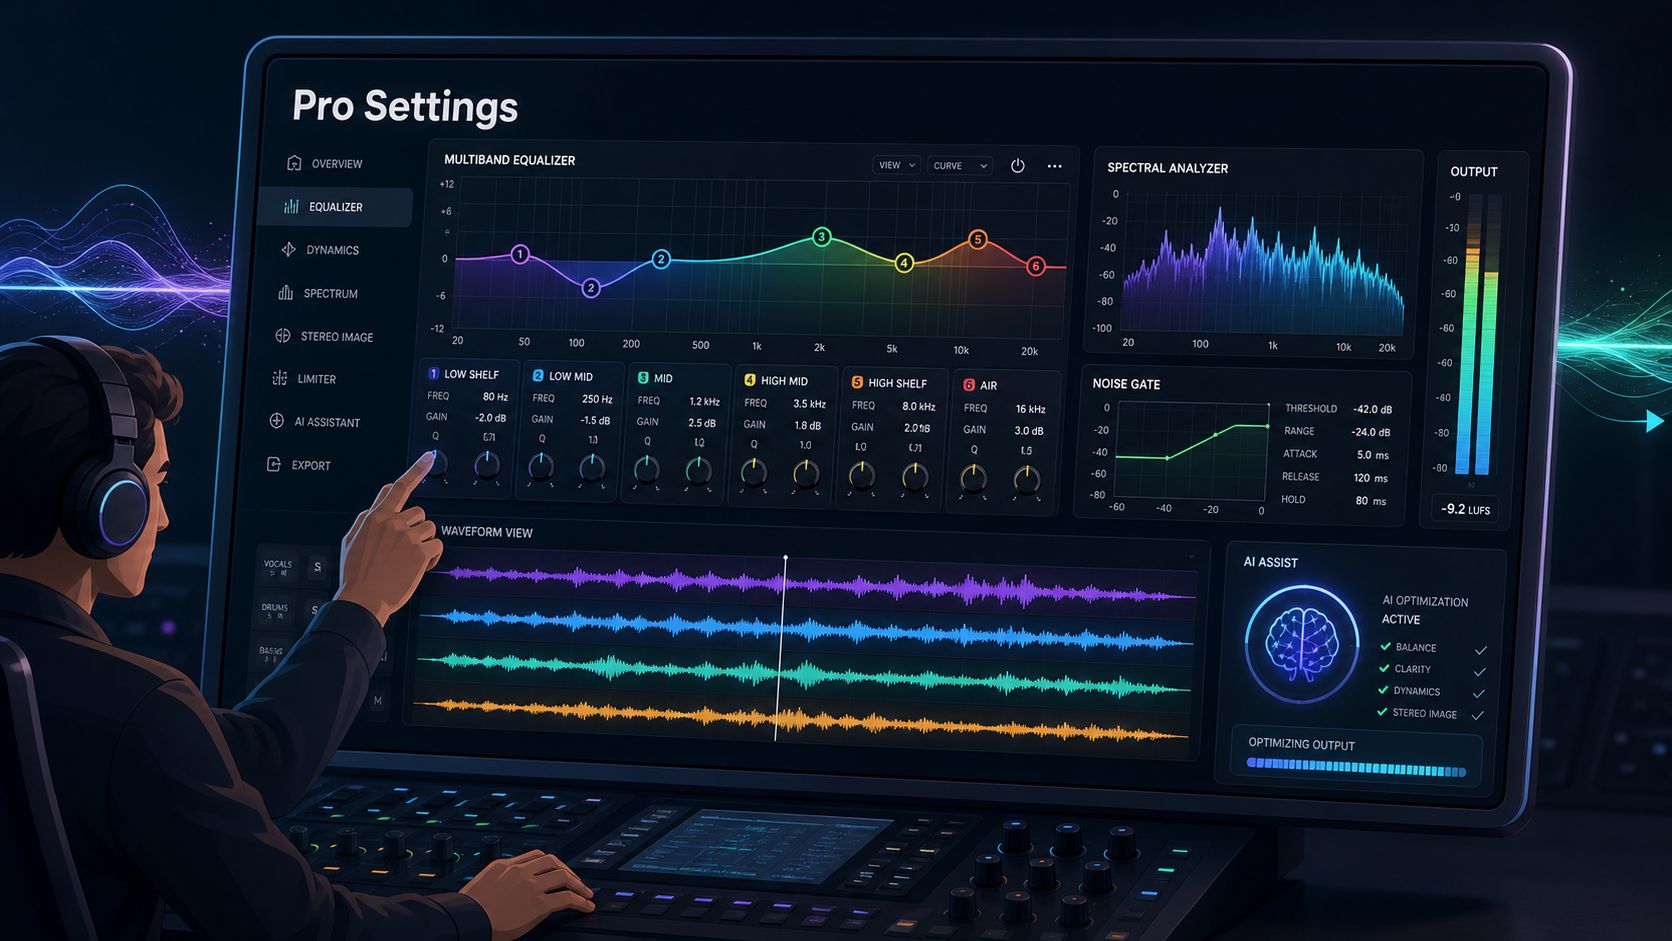
Default settings get a usable result fast. Professional work usually asks for more. If a stem will feed a podcast edit, a documentary mix, or a music revision, the advanced panel is where you decide what kind of damage you can tolerate and what detail you need to preserve.
The core issue is source reconstruction. An AI splitter is not muting the parts you do not want. It is estimating where energy belongs across time and frequency, then rebuilding separate stems from that estimate. Small control changes can shift that boundary enough to trade cleaner isolation for duller transients, or more ambience for more bleed.
Why staged processing beats one-click separation
Hybrid Transformer Demucs remains a common reference point in modern separation, but the practical lesson is about order of operations, not model branding. The method performs best with a staged chain that includes De-noise, De-echo, and De-reverb before separation. Skipping those steps to save time often leaves the model guessing which energy belongs to the voice or instrument and which belongs to the room. That usually means more artifacts in the final stem, as explained in this guide to HT Demucs and multi-stage preprocessing.
Editors hear this immediately on problem recordings. A reverberant interview clip can split into a voice stem that sounds detached and smeared at the same time. A noisy music file can leave cymbals splashing into the vocal stem even when the vocal itself seems centered and clear.
A practical chain looks like this:
- Clean the obvious problems first. Reduce steady noise, strong echo, or excess room tone before separation.
- Pull the main stem first. Separate dialogue or vocals before requesting more specific sub-stems.
- Repair lightly after the split. A second gentle pass on the isolated stem often sounds better than forcing one aggressive render.
Short version: staged processing usually beats a single heavy pass.
Cloud convenience versus local control
This choice matters more than many teams expect, especially once client material and unreleased content enter the workflow.
Cloud tools are faster to start with. They are useful for quick tests, team review, and jobs where upload time is small compared with edit time. They also fit collaborative environments well, especially in video and podcast production where producers, editors, and clients may all need access to preview stems.
Local processing solves different problems. Sensitive audio stays on your system. You avoid sending private interviews, embargoed music, or client rough cuts to a third-party server. On difficult material, local tools can also give more control over versions, staging, and repeat renders. The trade-off is setup time, hardware load, and the fact that your team owns the troubleshooting.
Use a simple filter before choosing:
- Sensitive, unreleased, or regulated audio: local processing is often the safer choice.
- Fast team review or remote collaboration: cloud processing is usually easier.
- Long-form projects with many revisions: local workflows often repay the setup cost.
- Early feasibility tests: cloud tools are a good way to check whether a file is salvageable at all.
Settings worth touching, and the ones to leave alone
Many advanced controls look technical enough to promise better sound. In practice, a small group of settings drives most of the result.
Focus on these first:
- Stem target selection: Choose the exact target. Dialogue, lead vocal, backing vocal, drums, and accompaniment are not interchangeable labels.
- Quality mode: This usually changes the result more than enhancement checkboxes do.
- Pre-clean modules: Noise, echo, and reverb reduction often improve separation more than post-processing effects.
- Chunk or segment handling: Longer files can sound more consistent when chunk settings are chosen carefully.
Leave low-level technical controls alone unless you can name the problem they solve. Random changes make comparisons useless. Save versions, test the same excerpt each time, and keep notes on what improved or got worse.
That discipline matters in real jobs. A podcast editor may accept a little background residue if consonants stay intact. A music editor may prefer a bit of bleed over phasey cymbals. A film team may reject a cleaner stem if the room tone no longer matches production sound. Advanced control is not about chasing the cleanest solo button result. It is about getting a stem that survives the rest of the workflow.
Practical Workflows for Creators and Professionals
The value of an AI audio splitter shows up in the handoff. Not in the demo. Not in the soloed stem. In the actual job getting finished.
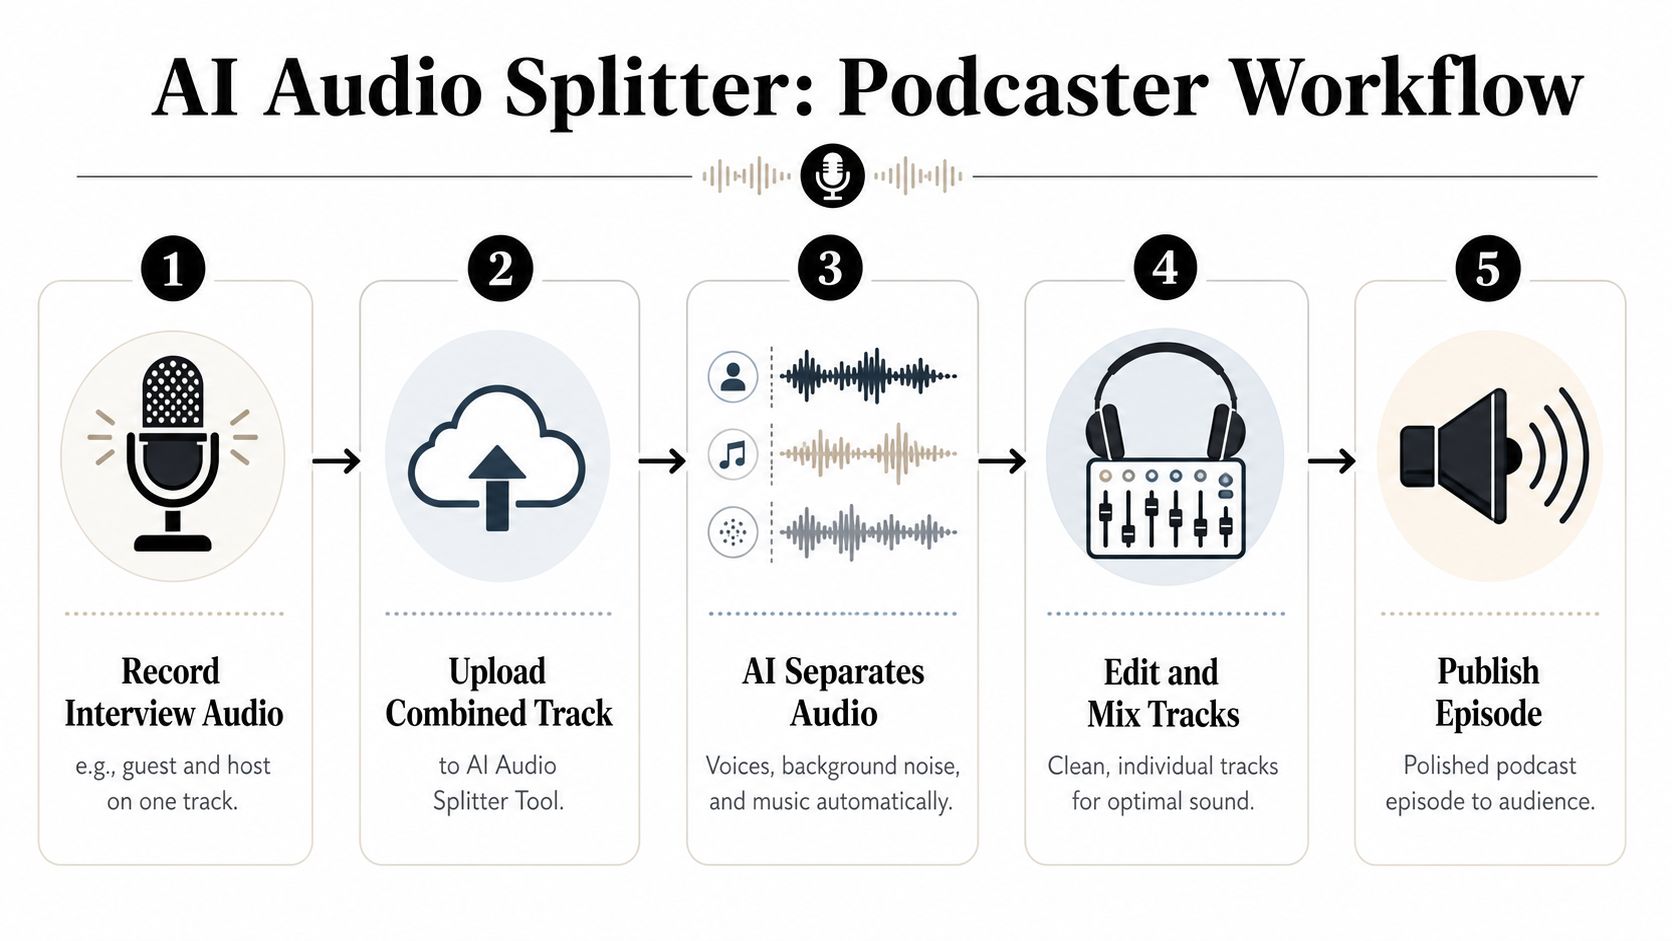
Podcasting and interview cleanup
A common podcast problem is a single mixed recording where one speaker is too quiet and the room tone rises every time you boost them. Traditional processing helps only so much because every fix also affects the louder speaker and the background.
A better approach is to isolate speech first, then shape that stem for intelligibility. Once the voice is clearer, you can automate level, add gentle EQ, and control pauses without dragging the room up with every move.
Useful podcast sequence:
- Separate speech from non-speech before compression.
- Edit the speech stem for timing, breaths, and level consistency.
- Blend back limited ambience only if the result feels unnaturally dry.
Video and documentary dialogue rescue
Production audio often arrives with practical music, traffic, HVAC, or crowd wash baked in. If the line delivery is strong, separation can give the editor enough control to keep the take rather than replace it.
The trick is not to over-clean. Dialogue that's too stripped can feel detached from the scene. Pull the dialogue stem, clean it, then reintroduce a controlled amount of location atmosphere underneath so the shot still feels real.
If a line feels disconnected after cleanup, the problem may be missing environment, not bad dialogue processing.
Music production remixing and practice stems
Musicians use splitters for two very different jobs. One is technical, such as creating stems for remixing, sampling analysis, or arrangement study. The other is practical, such as building backing tracks for rehearsal or removing a lead part for practice.
For remix prep, fidelity matters more. You want the vocal stem with intact transients, less smear on reverbs, and minimal harmonic residue from the accompaniment. For practice tracks, “clean enough” is often enough.
A musician's rule of thumb:
| Goal | What matters most | Tolerance for artifacts |
|---|---|---|
| Remix or release work | Detail, timing, low bleed | Low |
| Rehearsal backing track | Function, clarity | Moderate |
| Arrangement study | Separation of parts | Moderate |
| Content creation clip | Speed and usability | Higher |
Journalism research and transcription prep
Field recordings are messy. Phones rub against jackets. Air conditioners win fights with interview subjects. Distant traffic sits right where speech intelligibility should be.
In that context, separation is often a preparation step, not the final edit. Isolate the speech, clean it enough to improve intelligibility, then send the result into transcription or review. The output doesn't need to sound polished for release. It needs to preserve words accurately and reduce the time spent replaying unclear passages.
That same workflow helps researchers, educators, and teams reviewing meeting audio. Speech-first processing makes downstream tasks easier because people don't waste attention filtering out everything else.
Troubleshooting Common Issues and Best Practices
Most complaints about an AI audio splitter come down to one of three causes. The source was weak, the mode was too fast, or the user expected a perfect stem from material that was never separately recorded.
When the result sounds watery or smeared
That texture usually points to either a compressed source file or an aggressive shortcut in processing. Start again with the highest-quality source available. If you only have an MP3, try a more conservative target and a higher-quality mode.
Also check whether you're asking for too much isolation. A stem can sound worse when you push for total removal of everything around it. Sometimes a trace of background is less distracting than heavy artifacting.
When bleed won't go away
Some bleed is normal, especially in dense music or location audio where sources overlap in the same frequency regions. The answer isn't always “find a stronger model.” Often it's “change the workflow.”
Try these fixes:
- Process in stages: Clean noise and room problems before separation.
- Target the main source only: Pull dialogue first, then shape it, instead of demanding multiple isolated outputs at once.
- Mix with intent: A little residual background often disappears once the stem is back in context.
Legal and privacy checks that matter
This is the part many tutorials skip. If you're uploading audio to a cloud service, you need to know what happens to that file.
A 2026 safety guide warns users to review Terms of Service, use copyright-free inputs, and prefer encrypted platforms when handling sensitive recordings or licensed material, as noted in this guide to legal and privacy safety for AI splitter tools. That matters for unreleased music, documentary interviews, journalism, internal meetings, and client media.
A short safety checklist helps:
- Read storage terms: Know whether uploads are retained beyond processing.
- Avoid casual uploads of licensed material: Especially when policies are vague.
- Use privacy-conscious platforms for sensitive work: This matters as much as audio quality.
- Keep local copies of originals and exports: You need an audit trail and a fallback.
The best results come from realistic expectations and disciplined listening. Start with the cleanest file you can get, choose the mode that matches the job, process in stages when needed, and treat privacy as part of professional workflow, not an afterthought.
If you want a faster way to apply these workflows in the browser, ClearAudio is worth trying. It lets you upload audio or video, choose exactly what to keep, and move from quick draft modes to higher-quality processing without a complicated setup, which makes it a practical option for podcasters, editors, musicians, and teams handling cleanup at scale.