You've got the mic plugged in, the laptop open, and a vague sense that the room sounds worse than it did when you tested it five minutes ago. Maybe you're recording in a bedroom closet, maybe in a spare office with a fridge humming next door, or maybe you're trying to make a remote interview sound like everyone sat in the same studio. Good podcast audio usually comes from a chain of small decisions, not one magic setting, and the good news is that most of them are under your control.
Table of Contents
- Choosing Your Podcast Recording Gear
- Preparing Your Recording Environment
- The Recording Process Local and Remote
- Mastering Mic Technique and Levels
- Post-Processing From Cleanup to Polish
- Troubleshooting Common Podcast Audio Issues
Choosing Your Podcast Recording Gear
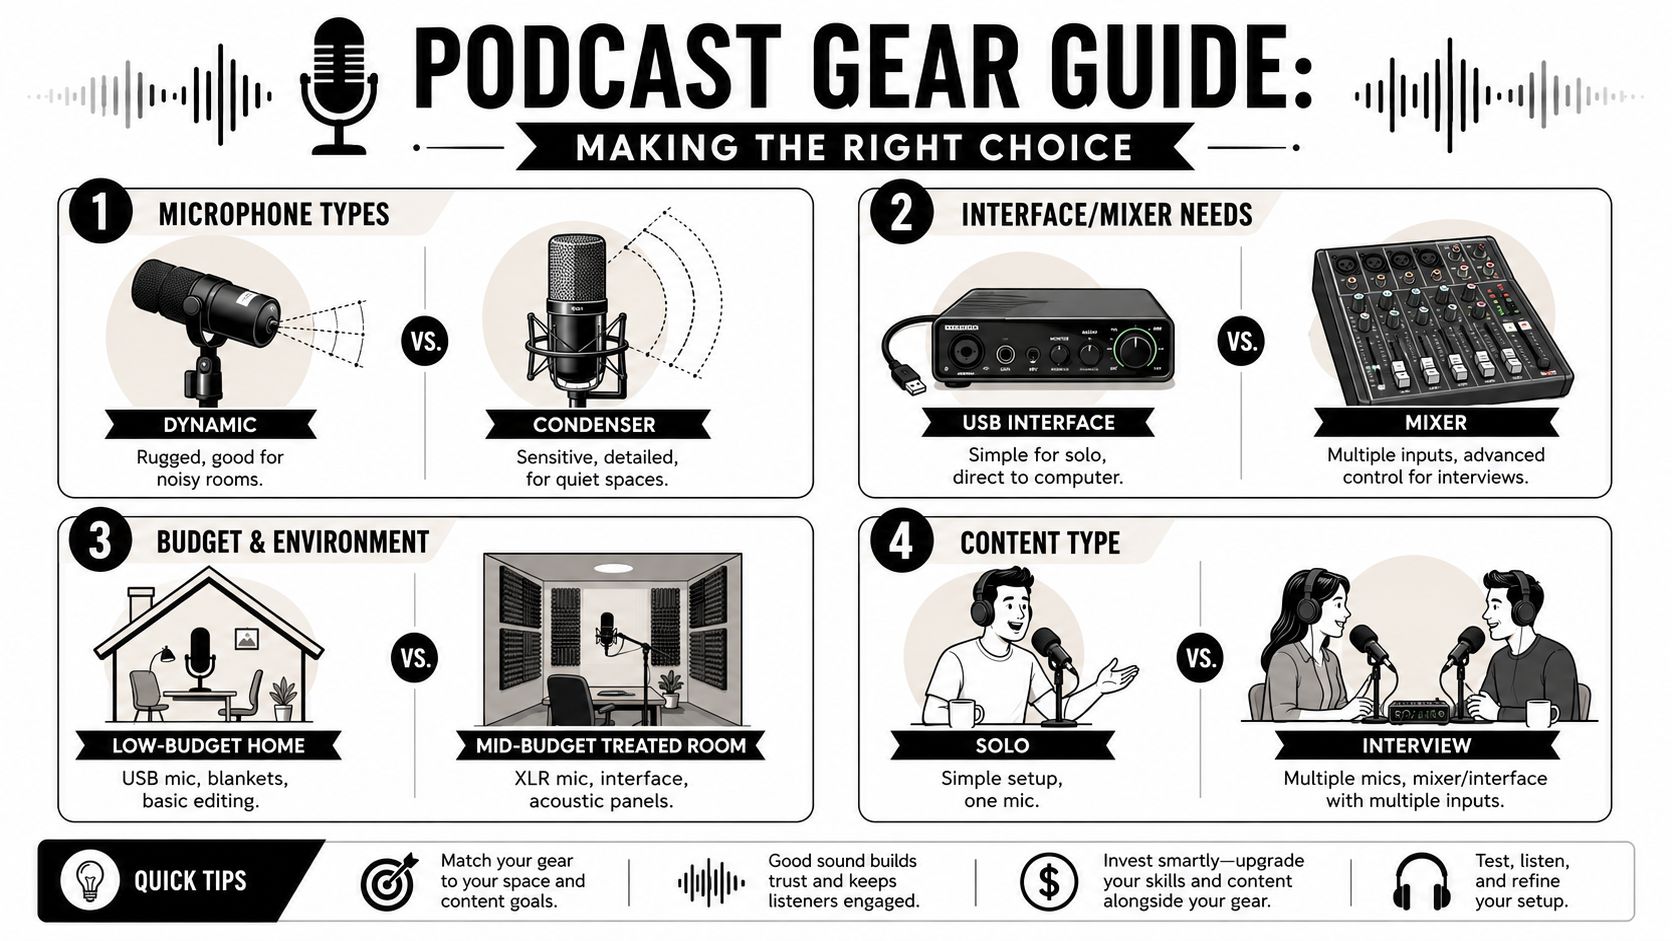
Gear choice is less about buying the “best” microphone and more about matching your setup to your room, your show format, and how much you want to grow later. A USB microphone can be the right move for a solo show or a creator starting from scratch. An XLR setup makes more sense when you want multi-mic control, better routing, and room to expand without replacing everything later.
If you're asking how to record podcast audio without wasting money, start by deciding what problem you're solving. A noisy room punishes sensitive mics. A two-person interview punishes gear that can't isolate each speaker cleanly. A show you plan to record for years rewards equipment that won't box you in.
USB vs XLR Microphones at a Glance
| Feature | USB Microphone | XLR Microphone |
|---|---|---|
| Setup | Plugs straight into the computer | Needs an interface or mixer |
| Best for | Solo recording, fast start, simple workflow | Multi-mic shows, growth, more routing control |
| Learning curve | Low | Higher |
| Upgrade path | Limited | Stronger, because you can swap pieces separately |
| Typical use case | New podcasters, travel, simple home setups | Interviews, co-hosted shows, more controlled production |
A dynamic microphone is usually the safer pick in an imperfect room because it's less eager to capture every reflection and background sound. A condenser microphone can sound very detailed, but that detail becomes a problem fast if your room is untreated. In practice, the mic is only part of the chain. The room and your speaking distance matter just as much.
Practical rule: buy for the room you actually have, not the room you wish you had.
For a cheap first setup, a decent USB mic, closed-back headphones, and a stable stand will get you further than an expensive mic sitting on a wobbly desk. For a more scalable setup, an XLR mic plus an audio interface gives you cleaner expansion later, especially once you start adding a second speaker. The interface is what turns multiple microphones into something manageable, and that's why it becomes essential when your show moves beyond one voice.
The mistake I see most often is overspending on the microphone and underbuying everything around it. A good stand, pop filter, and headphones aren't glamorous, but they protect the recording you already paid for. If you're building from zero, keep the chain simple and make each piece do one job well.
Preparing Your Recording Environment
A room can make a cheap mic sound decent, and it can make a pricey mic sound bad. That's why the first win is always noise control, not software cleanup. The best room is usually the smallest quiet room you can use without feeling cramped, because there's less space for sound to bounce around and build a hollow echo.
The obvious noise sources are the ones worth checking first. Turn off HVAC if you can, kill anything that hums, and listen for refrigerator buzz, fan noise, traffic, and the little electronic noises you stop noticing after a few minutes. If you can hear it in the room, the microphone probably can too.
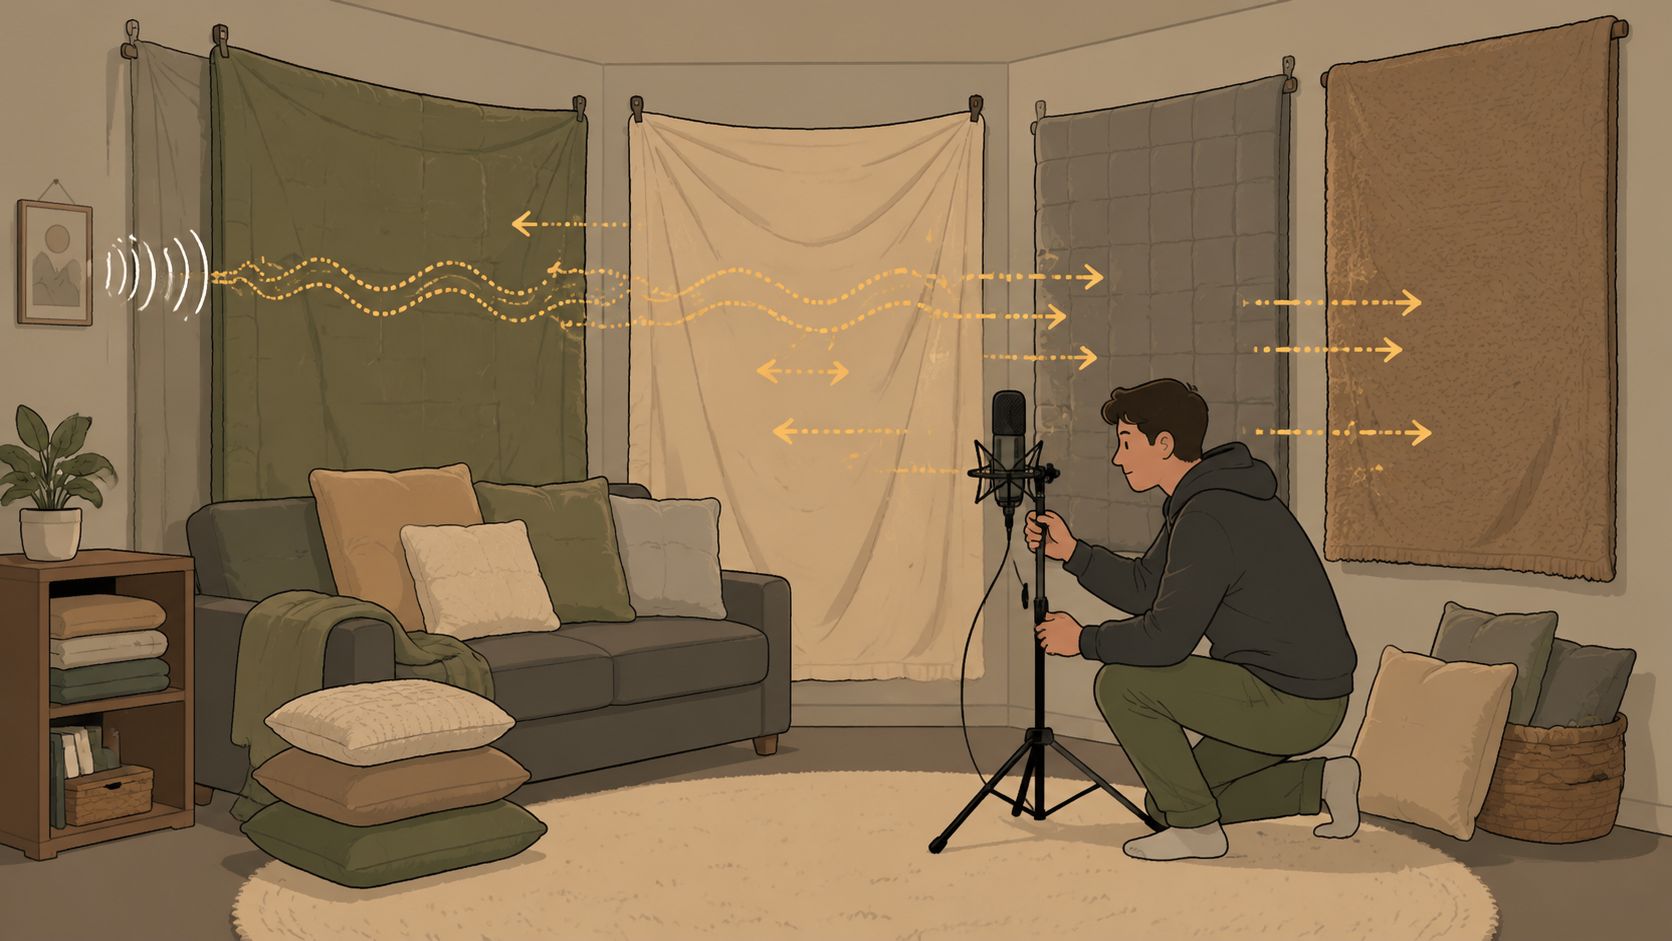
Soft materials help because they absorb reflections instead of throwing them back at the mic. Blankets, pillows, rugs, couch cushions, and bookcases full of uneven objects all help break up the hard surfaces that make voices sound boxy. You don't need a perfect vocal booth to get useful results. You need fewer hard, parallel surfaces near the microphone.
Set the space before you set the gain
The room is also where your mic placement starts to matter. Recording tutorials commonly recommend speaking at roughly 4 to 6 inches from the microphone and keeping that distance steady, because it improves intelligibility and signal-to-noise ratio as noted in this recording guidance. Keep the mic pointed away from walls and reflective corners when possible. The farther your voice has to bounce before it reaches the capsule, the more room tone and echo you'll capture.
A simple test take tells you more than a long planning session. Put on headphones, record 10 to 20 seconds of speaking, and listen back for fluttery reflections, hiss, or any machine noise you missed in the room itself. If the recording sounds harsh or roomy, move first and edit second. That order saves time.
Quiet-room habit: if a sound distracts you in the room, it usually distracts listeners later.
The best low-cost treatment is often ugly but effective. Hang heavy blankets behind and beside the speaker, put something soft under your feet if the floor is bare, and keep the mic away from the center of the room where reflections tend to feel more obvious. If the space still sounds uneven, reposition the mic before reaching for plugins. Fixing the room at the source always beats trying to iron it out later.
The Recording Process Local and Remote
Local recording gives you the cleanest control because you can capture each voice on its own track and verify levels before anyone starts talking for real. Open your DAW, create a separate track for every speaker, and name each input clearly so you're not guessing later. That simple organization pays off when two people overlap or one voice ends up much hotter than the other.
Remote recording needs a different mindset. Internet calls are convenient, but they're not the same thing as clean capture. For interview podcasts, a double-ender workflow, where each person records locally and sends in their own file, usually beats relying on compressed call audio. Mainstream guides also point out that remote and mobile recording are now common enough that backup tactics matter just as much as “studio” advice as noted by the University of Minnesota's podcasting prep guidance.
Local sessions need structure
A solid local session starts before the talent says a full sentence. Check the right input, run a natural-speech test, and confirm that your closed-back headphones are monitoring the microphone you want. Then do a short take with normal talking, laughter, and a few louder phrases so you can hear where the edges are.
Keep the room stable while you record. Don't shift the mic after the test unless you plan to test again. Don't casually switch inputs because the interface looked “more professional.” The best local workflow is boring because it removes surprises.
Remote sessions need a fallback
For remote work, you want the guest to record offline if possible, silence notifications, and use a backup recording path when the platform allows it. That matters because one flaky connection can ruin a perfectly good conversation. If you can't get a double-ender, at least get the highest-quality local file the platform permits and ask for a quick test before the main interview starts.
Good remote audio is mostly logistics. The technical part is real, but the setup discipline matters more than the software brand.
The biggest mistake is trusting the call app to do everything. Call compression, packet loss, and variable mic quality all stack against you. A remote session can still work well, but only if you treat the guest's local capture like the primary source and the call software like a convenience layer.
Mastering Mic Technique and Levels
Good mic technique sounds simple because the main rule is simple. Stay at a consistent distance, speak slightly off-axis, and don't let your volume wander all over the place. The microphone isn't a security camera. It rewards predictability.
The easiest way to think about gain staging is to imagine filling a glass. You want enough water to drink, but not so much that it sloshes everywhere when you move it. Recording too hot gives you clipping, and once that distortion is printed, you can't really unbake it. A healthy capture target is spoken peaks around -18 dB to -12 dB, with final delivery commonly normalized to around -16 LUFS for podcast episodes according to this engineering guidance.
Build headroom on purpose
Use 24-bit / 48 kHz WAV or AIFF if you can. That format gives you more room to work than compressed capture, and it's a reliable baseline for spoken-word production per the same guidance. The point isn't to worship file specs. The point is to preserve enough detail that editing later doesn't destroy the voice.
Do this instead of chasing loudness: record conservatively, then set the final loudness in post.
The microphone position affects tone as much as the level meter does. Closer usually means fuller, but closer also means more proximity effect and more plosives if you're firing air straight into the capsule. A pop filter helps, but angle matters too. Aim the mic near the corner of the mouth, not directly in front of it, and keep your distance steady once you find a good sound.
Use the meter like a guardrail
Meters aren't there to make the voice louder in the room. They're there to keep you from painting yourself into a corner. If the peaks are bouncing too close to zero, lower the gain and re-test. If the voice sounds thin after you back off, move the mic a little closer instead of cranking the preamp.
For multiple speakers, the same rule applies to each track. One person louder than the other is normal, but massive swings make editing harder and reduce consistency in the finished episode. Capture cleanly first, then shape the episode later.
Post-Processing From Cleanup to Polish
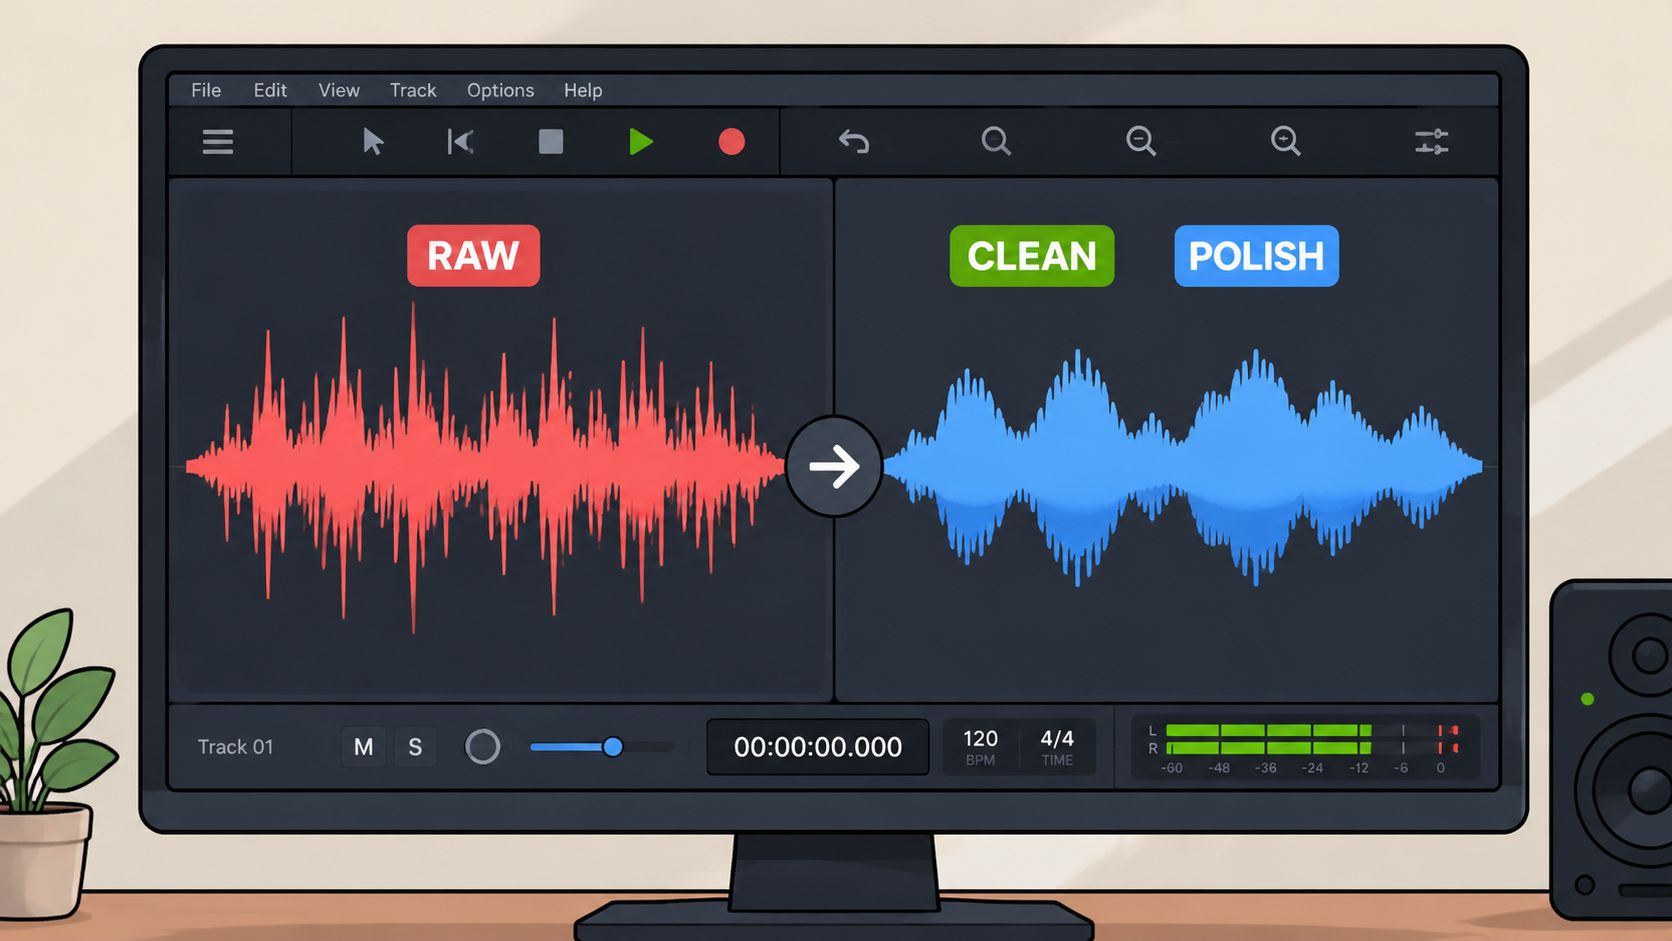
Raw audio rarely lands in perfect shape, and that's normal. You're usually cleaning up a real room, a real mouth, and real mistakes, not a controlled laboratory take. The key is to improve intelligibility without making the voice sound pinned, brittle, or synthetic. That trade-off matters because overprocessing can make speech easier to hear and harder to trust as Nearity points out in its discussion of cleanup limits.
Start with the basics. Remove false starts, long dead air, and obvious mistakes. Then listen for the noise floor, room ring, and any low-level hum that survives the recording. If the audio only needs light cleanup, resist the urge to throw every plugin at it. More processing is not automatically more professional.
The practical shift in modern workflows is that AI-assisted cleanup can do in minutes what used to take a lot of fiddling. A tool like ClearAudio fits that reality by aiming at the actual problem, not just a broad preset. You can drop in a file, tell it what to keep, and let it handle common issues like noise, hiss, hum, room echo, and dialogue separation without making the workflow feel like a sound-design class.
Clean the file without flattening it
The best cleanup pass starts with restraint. If the voice already sounds natural, you want the noise reduction to step back and leave the speaker alone. If the recording has obvious room echo or background clutter, a targeted cleanup pass can move it from rough to usable fast. The question is not whether cleanup helps. It's whether the cleanup introduces a new problem.
The old trap is pushing noise reduction until the voice gets watery or metallic. That's the point where a recording sounds technically quieter but emotionally worse. Modern tools are useful precisely because they can reduce the noise without forcing you into endless manual tweaks.
Use the result as a workflow, not a rescue mission
The cleanest end result still starts with a decent capture, but a faster cleanup path changes what you can publish confidently. That's especially valuable for interviews, field recordings, and home sessions where the room wasn't cooperating. You're not trying to invent a studio out of a bedroom. You're making the take clear enough that the listener stops noticing the room.
Practical rule: if cleanup starts changing the character of the voice, stop and back off.
Keep a copy of the raw file, then save the processed version as a separate deliverable. That way you can compare the two if the cleaned file starts sounding too aggressive. A good finish should feel invisible. Listeners should hear the person, not the plugin chain.
Troubleshooting Common Podcast Audio Issues
Clipping is usually the first problem you can hear. If the waveform looks flattened at the top or the voice turns crunchy on loud words, the input was too hot. Lower the gain and record again if you can. If the take is already done, you can sometimes soften the harshness, but you cannot restore what was clipped away.
Background hiss or hum usually points to the room, the cable path, or the gain staging. A good workflow captures 4 to 10 seconds of room tone at the start so you can profile the noise floor in post as recommended by Castos, and the same guidance also recommends keeping the final true peak below -1 dBTP so the master does not distort after encoding. If the recording was pushed too hot, noise reduction has less room to work because the problem is already baked into the file.
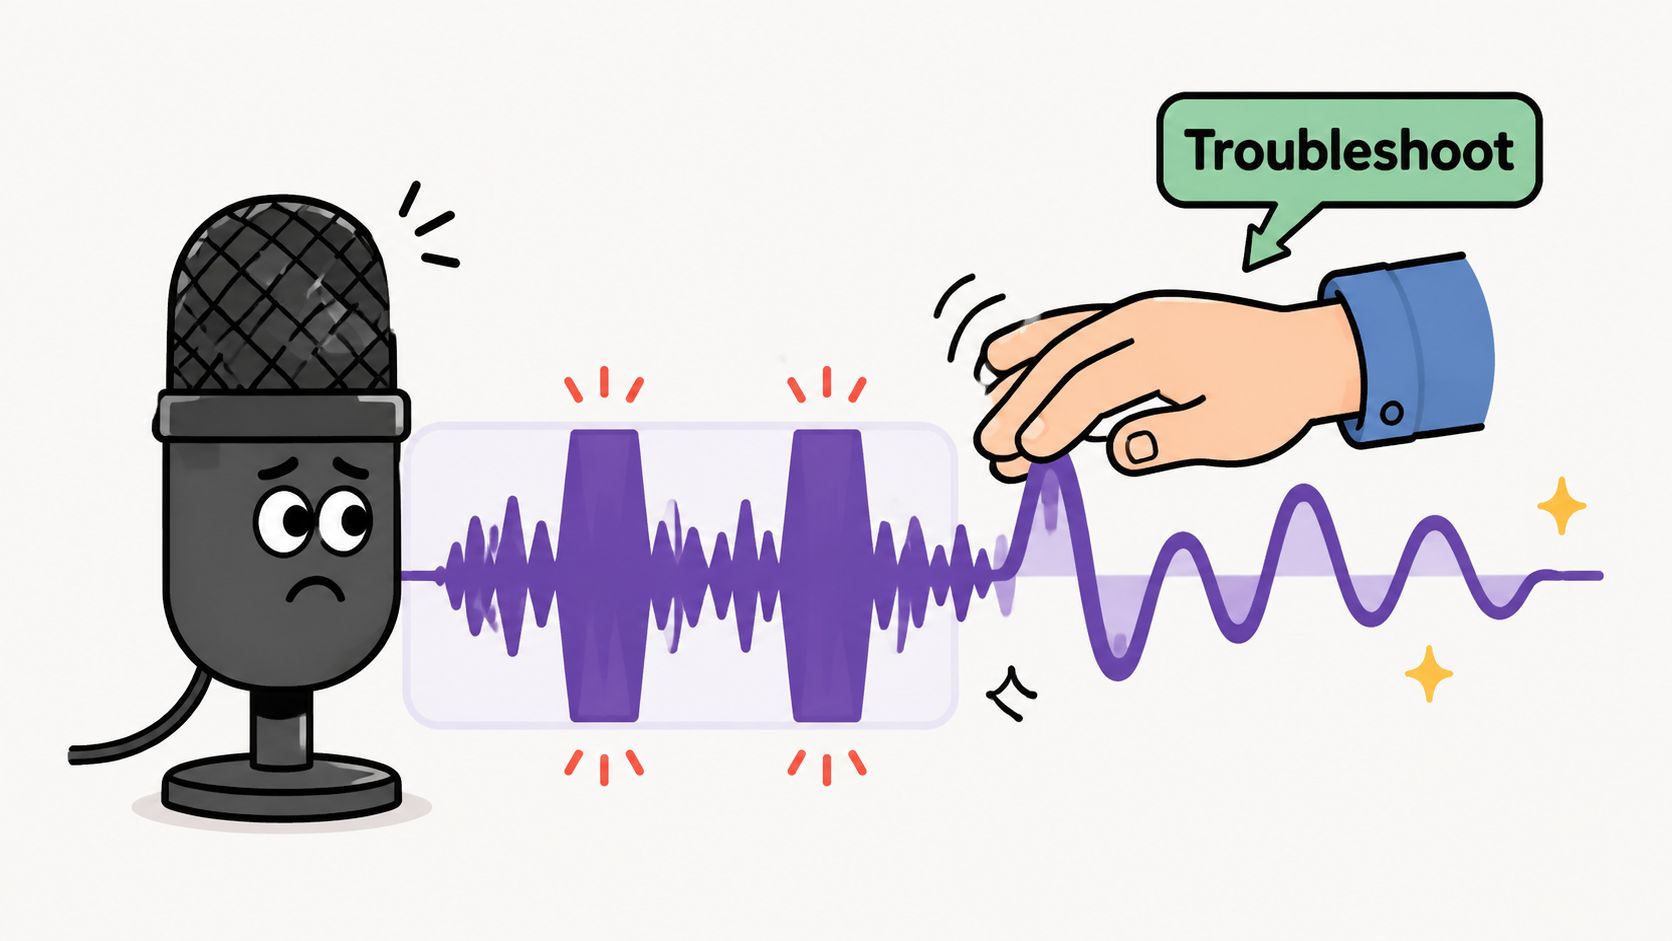
When speakers sound uneven
Volume mismatch is common in interviews. One person leans in, another sits back, and the edit starts to feel lopsided. Keep the mic distance consistent during recording and check levels before you commit to a long take. If the mismatch is already recorded, use gentle leveling and avoid forcing both voices to the same loudness just because the meters look tidy.
Room echo is a different problem from hiss. Echo sounds like the room itself is speaking. Hiss sounds like the electronic chain is whispering in the background. Treat the room first if the problem is echo, and check gain and sources if the problem is hiss.
Multi-mic sessions can also create phase cancellation. If two open mics make voices sound thin, hollow, or strangely distant, check placement and polarity before you blame the edit. USB interference can do its own damage too. If you hear buzzing, pops, or random digital noise, move the cable away from power bricks and hubs, then try a different port or cable.
What to fix first
Use this order when something goes wrong.
- Clipping: lower input gain immediately and re-record if possible.
- Hum or hiss: remove the source in the room first, then clean lightly in post.
- Echo: move to a smaller, softer space before you reach for heavy processing.
- Uneven levels: recheck distance and speaker position before compressing harder.
- Phase cancellation: check mic placement and polarity in multi-mic setups.
- USB interference: change the cable path, port, or hub before chasing the noise in software.
The cleanest fix still starts with a decent capture, but the practical workflow often proceeds more slowly than anticipated. You record, spot the fault, fix what you can at the source, then use tools like ClearAudio to clean up the rest without flattening the voice. That gives a cheap mic in a closet, or a stronger setup in a treated room, the same goal, audio people can listen to without getting distracted by the problems in it.