
You've got a noisy interview clip, a laptop fan in the background, and a deadline that doesn't care whether the audio was captured in a living room, a car, or a half-empty conference room. That's usually the moment people search for a way to remove background noise from video free, then discover most guides stop at “upload and click clean.” The solution is a little more useful, and a lot more practical.
Background noise matters because it directly affects speech comprehension. In one peer-reviewed study, mean intelligibility dropped from 93.27% in quiet to 68.64% in noise, a decline of 24.63 percentage points (PMC study). Another study found intelligibility at the noisiest test condition, +5 dB SNR, was 68.79%, compared with 79.65% at +7 dB SNR and 98.56% in quiet (ASHA study)). That's why bad audio hurts podcasts, interviews, lectures, customer calls, and translated captions.
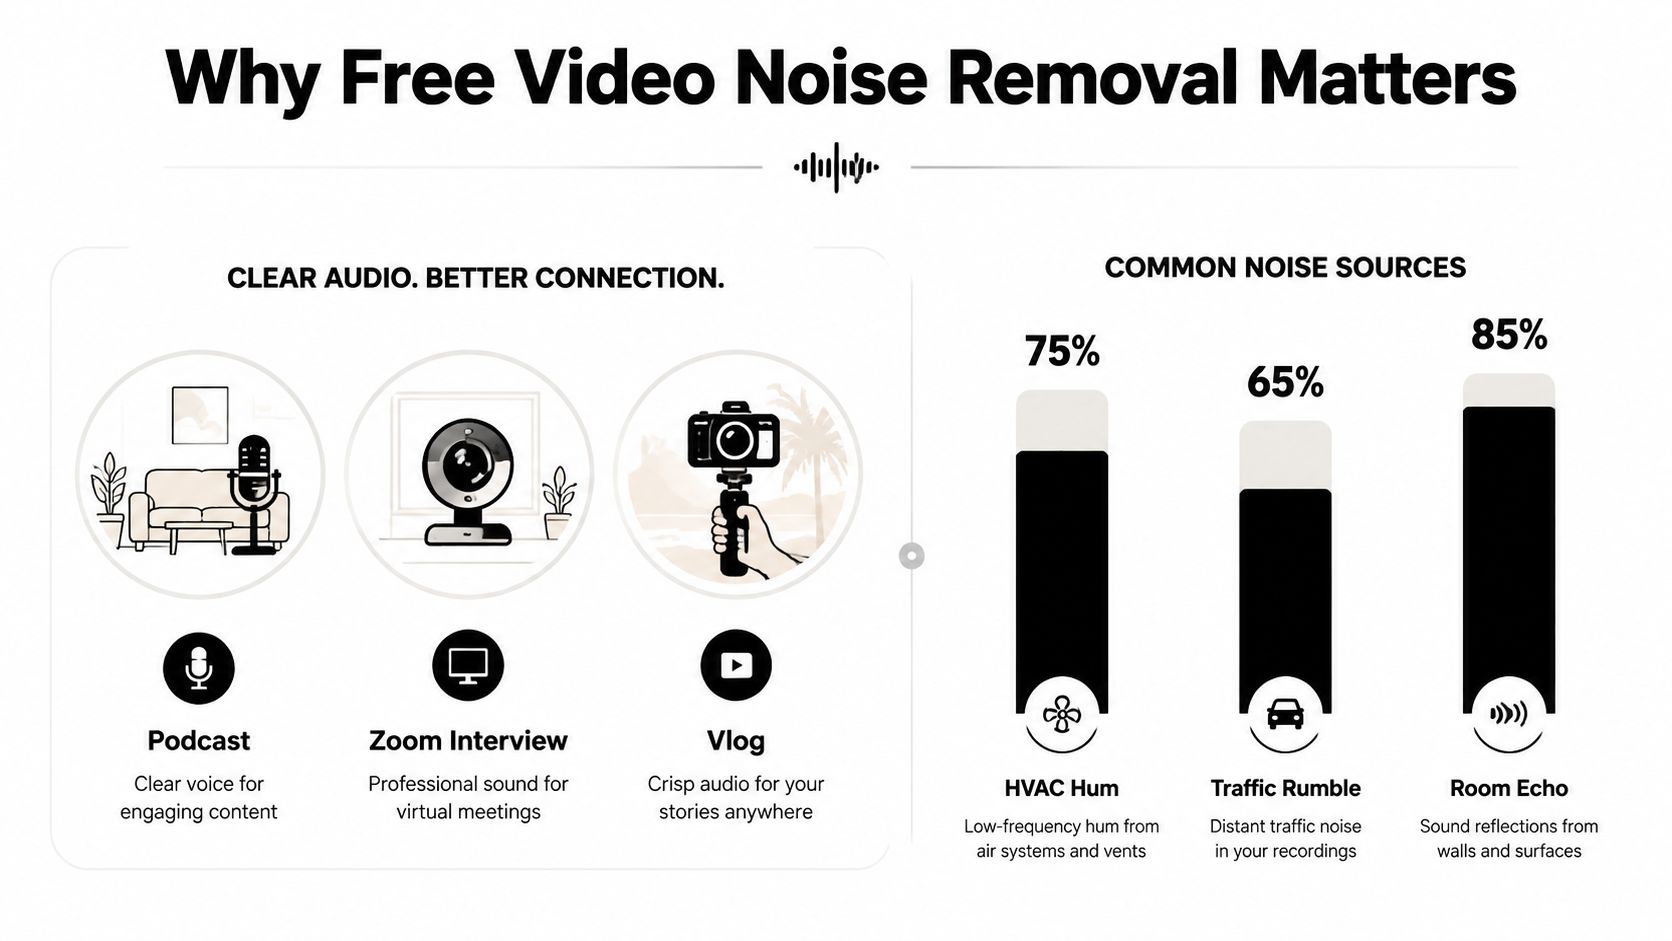
The good news is that free cleanup has become capable when the noise is stable and the speech is intact. A hands-on desktop path gives you more control, and a browser AI path gives you speed. The rest of this guide covers both, so you can choose between a full FFmpeg + Audacity workflow and a faster one-click browser tool depending on the clip, the deadline, and how much control you need.
Table of Contents
- Why Free Video Noise Removal Matters More Than Ever
- Extracting Audio From Video the Right Way
- Cleaning the Audio in Audacity Step by Step
- One-Click Browser AI Denoisers Worth Trying
- Re-Syncing Cleaned Audio Back to Your Video
- Batch Processing and Long-Form Workflows
- When Free Stops Being Enough and What to Do Next
Why Free Video Noise Removal Matters More Than Ever
A common scene: you play back a client interview, and the voice is fine for the first ten seconds, then the HVAC kicks in and buries every consonant. That's usually the moment the clip stops feeling publishable, even if the framing and pacing are good. In spoken video, noise doesn't just sound annoying, it makes dialogue harder to parse, harder to caption, and harder to trust.
A controlled listening study found that listener performance worsened as signal-to-noise ratio dropped from +10 dB to +5 dB (ASHA study). That aligns with what editors hear in practice, a little hum can be tolerable, but once it sits under dialogue, the whole clip feels more fatigued. For creators, that translates into more rewinds, more manual caption cleanup, and a rougher viewing experience.
The free stack that actually helps
The most useful free path starts with FFmpeg for extraction, then Audacity for cleanup, then a re-sync step back into the video. That workflow gives you control over the audio master instead of trying to denoise a compressed video stream in place. It also keeps the source video untouched until you're ready to replace the track.
Practical rule: extract first, clean second, re-mux last. If you denoise inside a lossy container too early, you're fixing the wrong layer.
Browser-based tools can be faster, especially when you only need a quick rescue for a short clip. Some run noise suppression in the browser, others upload the file and return a cleaned export, but the basic trade-off stays the same, speed versus control. A few use speech-focused models, which can be enough for social clips or rough edits, but they're not always the right answer for interviews with tricky room tone or music beds.
That's the decision here. If you need privacy, repeatability, or careful tuning, the desktop route wins. If you need a fast result and the material is simple, a browser cleaner can be enough. One browser-based option in this category is ClearAudio, which lets users upload audio or video in the browser and choose a speech-focused cleanup mode, but it still fits best as one tool among several when the material is straightforward.
Extracting Audio From Video the Right Way
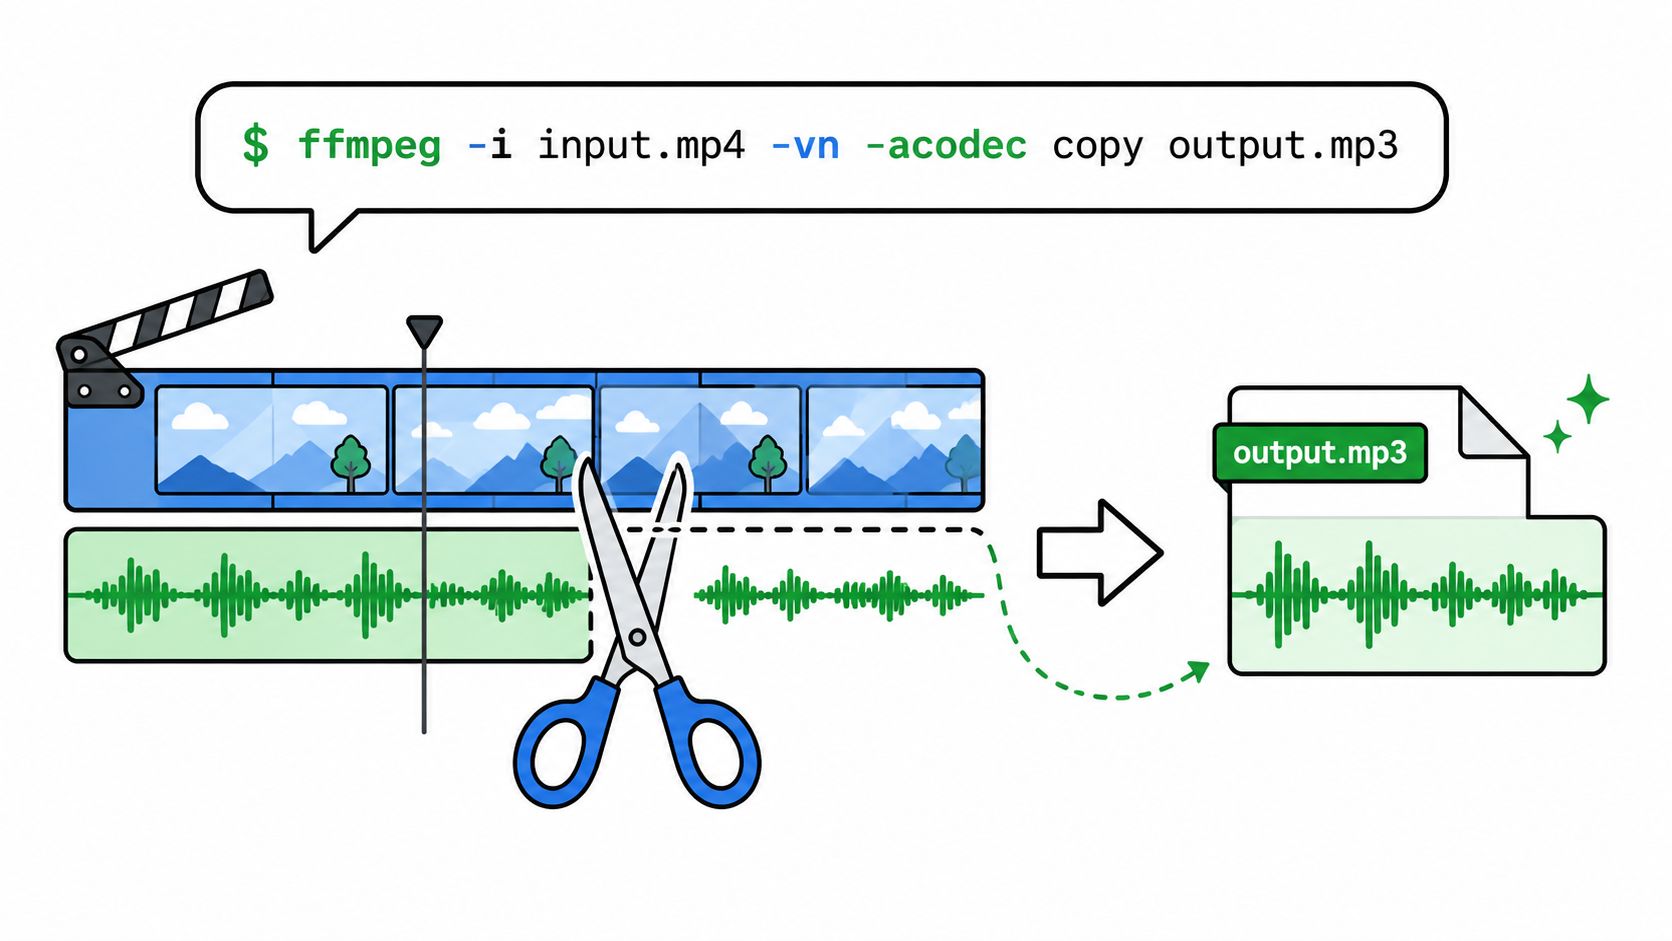
Pull the audio out before you denoise it. That sounds obvious, but a lot of people still try to process the whole video file first, which wastes time and keeps you working in a format that's already compressed. A separate WAV gives you a clean master for inspection, editing, and re-muxing later.
Use FFmpeg for the most direct workflow. The basic command is:
ffmpeg -i input.mp4 -vn -acodec pcm_s16le -ar 48000 -ac 2 audio.wav
That creates a 48 kHz stereo WAV, which matches common camera audio and keeps the file in a working format that Audacity handles well. If you're cleaning a single-person interview, the mono variant is often enough:
ffmpeg -i input.mp4 -vn -acodec pcm_s16le -ar 48000 -ac 1 audio.wav
If the noisy section is the only part you need to profile, trim first so you don't waste time on the whole clip. Use -ss and -t to isolate a short segment before extraction or inspection. That's especially useful when you want to sample a stretch of pure fan hum, traffic rumble, or room tone without scrubbing through a long file.
What to verify after extraction
Check three things before moving on. The audio duration should match the source closely, the sample rate should be what you expect, and the file should contain no video stream. If those line up, you've got the correct working master.
If you don't want a terminal, VLC can also convert the file to audio-only through Media > Convert / Save, then export to a WAV-like working format or an audio-only container. That's slower and less precise than FFmpeg, but it's usable when you're on a locked-down machine. If you prefer a broader workflow for transcripts and edit speed, the Voice Control Pro workflow guide is worth a look because it sits in the same “clean the media, then move faster” mindset.
A clean extraction step saves you from guessing later. If the cleaned audio sounds wrong, you want to know the extraction was sound before you blame the denoiser.
The extracted WAV is the file you'll denoise, compare, and eventually put back into the video.
Cleaning the Audio in Audacity Step by Step
Audacity still earns its place because it gives you a real noise profile, not just a one-click guess. That matters when the source has a steady hum, a fan, or a room tone that stays consistent from one line to the next. The trick is to feed it a clean example of the unwanted sound, then avoid pushing the reduction so hard that the voice starts to sound synthetic.
Start by finding 2 to 3 seconds of noise-only audio, ideally a pause between questions or a section where nobody is speaking. Highlight that section, then open Noise Reduction and capture the profile. Once Audacity has learned the noise pattern, select the full clip and apply the effect to speech instead of silence.
The settings that tend to stay usable for dialogue are moderate, not extreme. A good starting point is 6 to 12 dB for light cleanup, 12 to 18 dB when the hum is heavier, Sensitivity around 6, and Frequency Smoothing at 2 to 3 for spoken voice. Those numbers aren't a guarantee, but they're a stable starting band when the goal is to preserve natural consonants and room feel.
The controls worth using before export
A few built-in tools in Audacity help when the noise isn't uniform. The Notch Filter is useful for a fixed-frequency hum, especially if you know you're dealing with a steady electrical tone. The Graphic EQ can help pull down sub-bass rumble without flattening the whole voice. If levels jump around after cleanup, Chris's Dynamic Compressor can even out the dialogue before export.
Use the preview loop before you commit. Apply the effect to a short 10-second slice, listen back, undo it, then tweak the strength and smoothing until the voice keeps its body while the noise drops away. That small test is the difference between a workable cleanup and a watery mess.
When you're ready to export, keep the same sample rate you extracted with, or stay consistent with the delivery target if you know the file will be repurposed. WAV is the safest working format, while MP3 only makes sense for distribution after the final edit is locked.
A short video walkthrough can help if you're more visual than technical.
One-Click Browser AI Denoisers Worth Trying
Browser tools win when speed matters more than fine control. You upload, pick a preset, wait for the render, and download a cleaned file. That's often enough for a rough social cut, a quick client review, or a clip that just needs the noise softened, not surgically repaired.
The trade-off is simple. Your footage leaves your machine, the tab can sit open while the render runs, and free tiers usually set limits on file length, output quality, or daily usage. For confidential interviews, multi-clip projects, or anything that needs repeatable settings, that's a real constraint.
| Tool | Free Limit | Max Resolution | Best For |
|---|---|---|---|
| Adobe Podcast Enhance | 1 GB limit, 60 min/day | Watermark-free export is available in the free flow, resolution details depend on the source | Fast speech cleanup |
| Kapwing Clean Audio | Free tier has a 10 min clip limit | 720p cap | Short social clips |
| Media.io | Free with account, 3 min limit | Browser export limits apply | Very short cleanup jobs |
| FxSound and Browser.AudioMass | Lightweight alternatives with simpler browser-side workflows | Depends on the tool and file type | Quick tests and basic cleanup |
The best use case for browser AI is a short clip with straightforward dialogue and a deadline that leaves no room for manual tuning. The worst use case is a detailed interview with echo, overlapping speech, or music in the background. In those cases, the browser tool may smooth the noise but leave the dialogue sounding overprocessed.
If the file matters more than the convenience, don't let the one-click promise set the workflow for you.
A practical way to think about it is this. Browser AI is a quick pass, Audacity is a controlled pass. If you already know you'll need consistent cleanup across many clips, the desktop route saves time later even if it takes longer on the first file.
Re-Syncing Cleaned Audio Back to Your Video
Once the audio sounds right, replace the original track without re-encoding the video. That preserves the picture quality and avoids creating a second layer of compression you don't need. The cleanest FFmpeg swap looks like this:
ffmpeg -i original.mp4 -i cleaned.wav -c:v copy -map 0:v:0 -map 1:a:0 -shortest output.mp4
The -c:v copy flag keeps the video stream untouched, which is exactly what you want after spending time cleaning the audio. Keep the channel layout and sample rate consistent with the extracted file so playback doesn't drift. Most camera audio works best when the replacement stays aligned with the source settings.
Check sync manually before you export the final version. Scrub a few sharp consonants, mouth closures, and any clap or gesture that should line up with a visible transient. If the audio starts to feel late or early, adjust the cleaned clip with -itsoffset by a small amount before the input flag.
For editors who prefer a timeline, the same logic works inside Premiere, DaVinci Resolve, or Final Cut. Import the cleaned WAV, line up the first waveform peak with the original, then remove or mute the old track. The syncing audio with video guide is useful if you want a second reference for alignment habits and timeline timing.
A short test export is worth the extra minute. Check it on laptop speakers and a phone before you publish, because sync problems can hide on studio monitors and show up instantly on small devices.
The final review should happen where the audience will hear it, not just where it sounds flattering.
Batch Processing and Long-Form Workflows
One clip is manageable. Twenty interviews, or a long podcast archive, need a repeatable loop. The first time you handle a batch, file naming matters more than clever filtering, because clean filenames keep extraction and re-mux steps predictable.
A basic shell loop can extract every MP4 in a folder into WAV files:
for f in *.mp4; do ffmpeg -i "$f" -vn -ar 48000 "${f%.mp4}.wav"; done
From there, process the WAVs through Audacity macros, a scripted denoiser chain, or a lighter neural tool like RNNoise when the noise is broad and consistent. For long-form YouTube material, keep cleanup conservative. Heavy denoising can strip room tone that makes dialogue feel natural, especially across extended clips.
How to keep the batch sane
Use the same filename root for each source and cleaned file, so re-muxing stays automatic. A matching loop can put the cleaned audio back into each original file without manual relinking. Test on a few clips first, then scale once the settings hold up.
- Start with three clips: Pick one easy file, one borderline file, and one worst-case file before you touch the full folder.
- Keep denoising lighter on long speech: A modest reduction around speech often preserves more natural ambience than aggressive cleanup.
- Separate preview from final export: CPU-bound workflows slow down fast when you try to solve everything in one pass.
Independent denoising research also points to a real constraint here. Classical algorithms vary a lot in runtime, and slower CPU-bound processing becomes the bottleneck on long jobs. A 30-minute interview can take much longer to denoise than a short clip, especially when you run the same settings across an entire archive.
That is why batch work usually combines lightweight preview tools with stronger cleanup only where speech needs it. If the archive is large, automate the repetitive parts first and save the heavier cleanup for the clips that justify it.
When Free Stops Being Enough and What to Do Next
Free tools break down in the same places every time. Wind distortion, overlapping speech, multi-mic echo, music bleed, and dialogue buried below the noise floor are all harder than steady HVAC hum. When the source is already badly compromised, both spectral subtraction and browser AI can leave artifacts that are harder to live with than the original problem.
Those artifacts are easy to hear. Voices start sounding metallic, consonants turn watery, quiet syllables get chopped by gating, and the room tone turns hollow after aggressive cleanup. That's the point where the workflow needs to change instead of the settings being pushed harder.
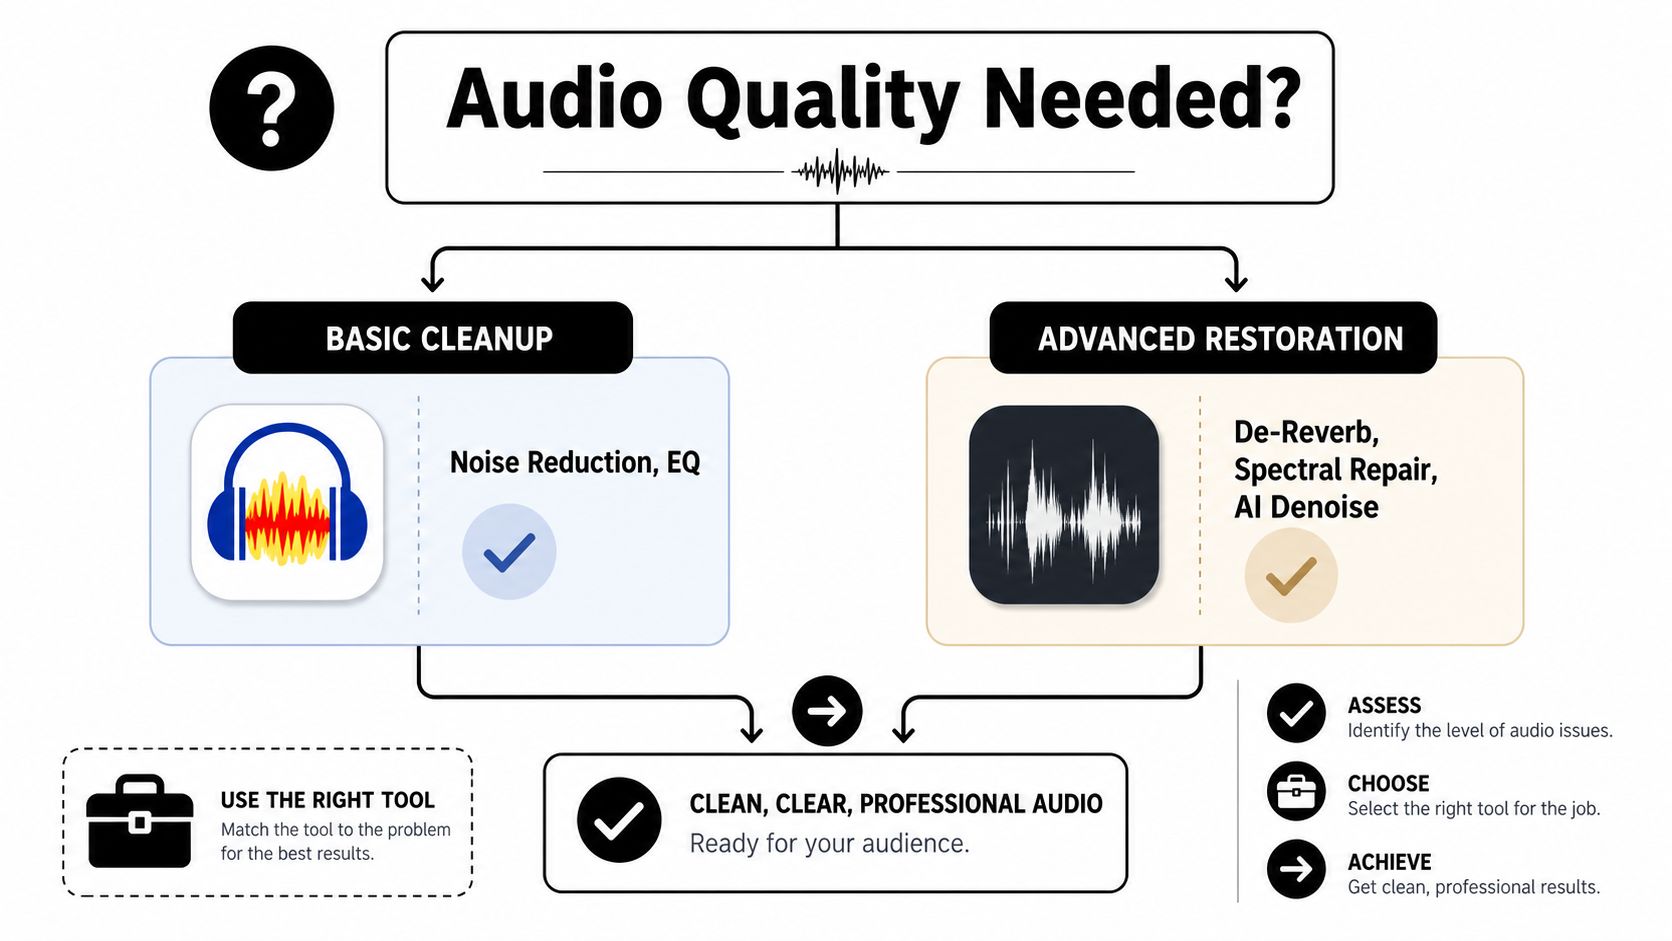
A practical decision path looks like this. Short clips with mild hum can go through a browser denoiser. Interviews with consistent noise are a better fit for FFmpeg plus Audacity. Anything more demanding, including multitrack stems, legal work, or medical audio, usually needs paid restoration tools with deeper repair controls.
One browser option in that middle category is ClearAudio, which processes audio or video files in the browser and lets users focus on speech, vocals, music, or background music while reducing noise, hum, hiss, and room echo. It fits best when you want simple browser cleanup with a speech-focused result, not when the project needs full restoration control.
The main mistake is spending hours forcing a free tool to do a job it wasn't built for. If the project needs de-reverb, spectral repair, or more advanced isolation, move up a tier and save the free route for simpler jobs. A good decision checklist is short, clip length, noise type, quality target, and whether the result needs to hold up in professional publishing.
If you want a cleaner workflow without guessing at settings, visit ClearAudio and test a noisy clip in the browser. It's a practical way to compare speech-focused cleanup against the FFmpeg and Audacity path before you commit to the full edit. For creators who need fast, repeatable cleanup on a budget, that kind of preview can save a lot of time.