You press play on a podcast interview and immediately hear the room before you hear the person. The voice sounds hollow, distant, and smeared, while the walls seem to answer every sentence. You can understand the general meaning, but names, consonants, and short words disappear when the speaker talks quickly.
That's why learning to remove echo from room recordings starts with intelligibility, not aesthetics. Reverberation time has been a foundational acoustic measurement since Wallace Clement Sabine's work, and it describes how long sound takes to decay by 60 dB. Research on classroom acoustics found that speech-intelligibility metrics were strongest in quiet rooms with reverberation times between 0.1 and 0.3 seconds, while full intelligibility remained possible up to roughly 0.4 to 0.5 seconds in the tested conditions (classroom acoustics study).
The practical lesson is simple. A recording can sound merely “roomy” to you while already costing the listener effort. Fix the acoustic cause first, then clean whatever remains in post.
Table of Contents
- Why Echo Is Not Just Reverb
- Quick Fixes You Can Make in the Room Today
- Choosing a Microphone and Placement That Fights the Room
- Cleaning Residual Echo With ClearAudio in Post
- When to Stop Treating the Room
- Your Pre-Recording and Pre-Export Checklist
Why Echo Is Not Just Reverb
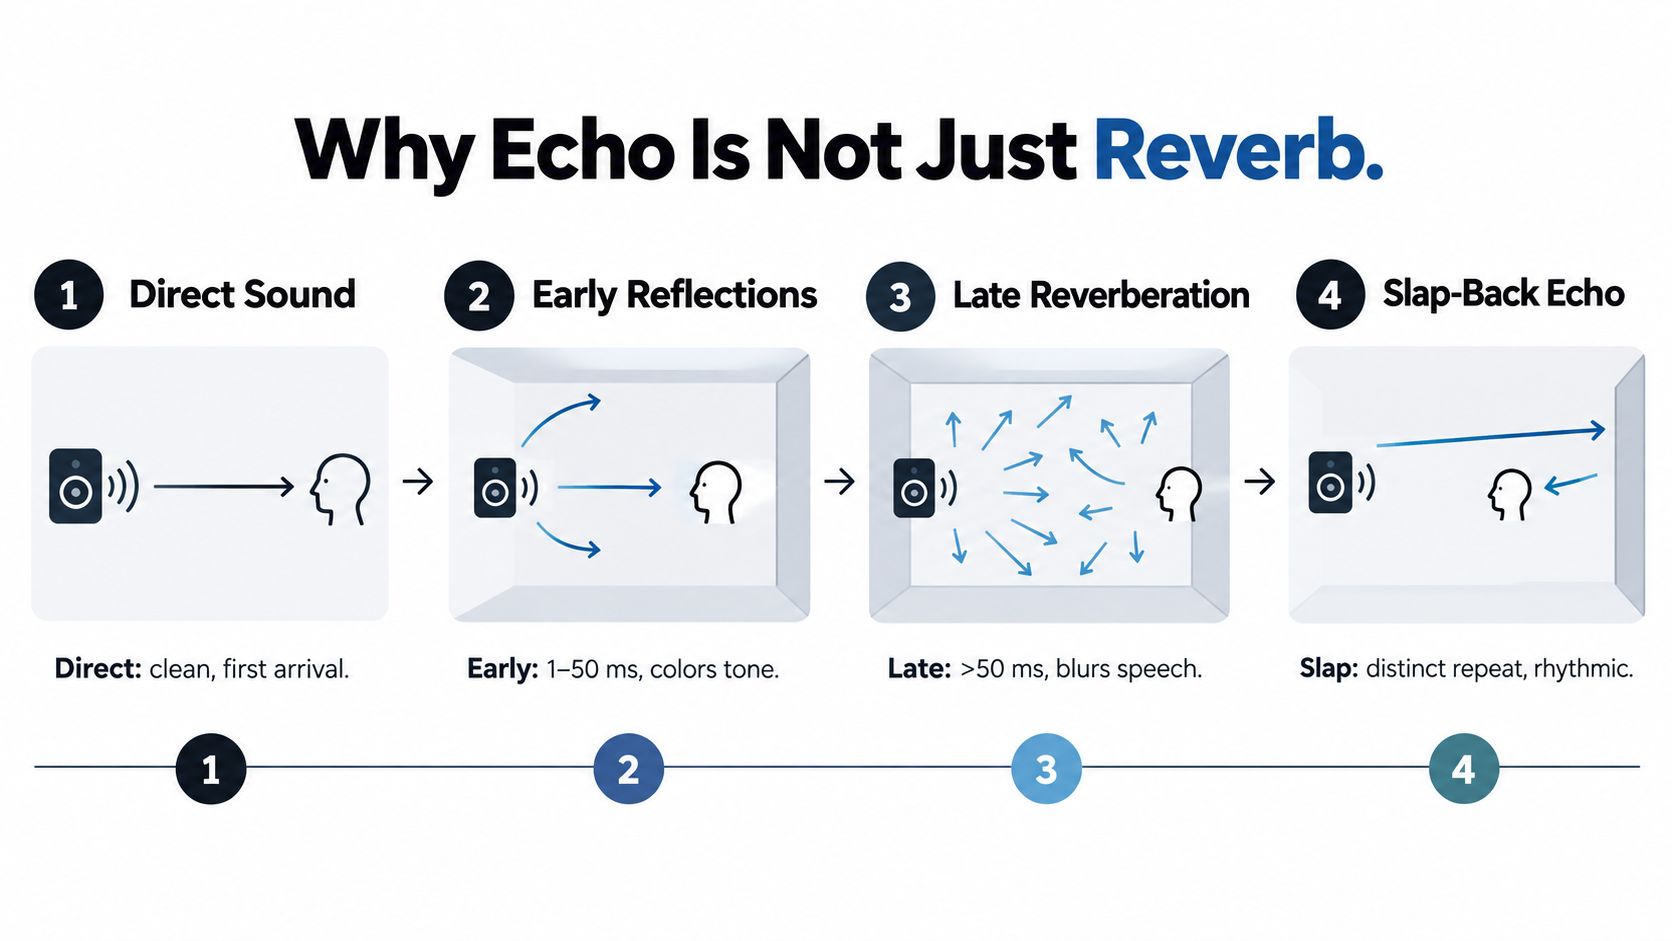
A microphone doesn't capture one sound. It captures the direct voice, reflections arriving shortly afterward, a dense late decay, and sometimes a distinct repeat from a distant surface. Those arrivals overlap in time, and each one changes the recording differently.
Direct sound travels straight from the speaker to the microphone. It gives you the strongest definition and the clearest consonants. Early reflections arrive shortly afterward, often from a desk, side wall, ceiling, or floor. They can color the tone and create comb filtering without sounding like a separate repeat.
Late reverberation is different. It's the accumulated tail of many reflections, and it fills the gaps between syllables. The listener hears less separation between sounds, so speech becomes harder to parse even when no obvious echo repeats.
A slap-back echo is more discrete. One strong reflection from a hard, distant, often parallel wall arrives late enough to sound like a second version of the word. This is a geometry problem before it's a software problem.
Match the treatment to the reflection
Treating every reflection the same usually produces a dull voice without solving the defect.
- Direct sound: Preserve it by moving the microphone closer and keeping the speaker's voice dominant.
- Early reflections: Control the strongest nearby surfaces when they create obvious coloration, but don't strip the room completely.
- Late reverberation: Use broader absorption on walls, ceilings, floors, and furnishings to shorten the decay.
- Slap-back echo: Find the hard parallel surface and interrupt that path with placement, absorption, or diffusion.
Modern listening experiments support the importance of this distinction. In one 2022 study, adding reverberation to target speech and cafeteria noise reduced intelligibility scores by 20% for normal-hearing listeners and 25% for hearing-impaired listeners (reverberation and speech understanding research). The same research area also reports that speech clarity decreases as reverberation time increases.
Practical rule: Kill the distinct repeat first, shorten the late tail second, and avoid removing every early reflection by default.
For speech systems, the boundary between early reflections and late reverberation is often placed around 100 milliseconds (speech dereverberation research). That boundary isn't a magic switch for every recording, but it explains why a de-reverb process should focus on the lingering tail rather than flattening the entire acoustic character.
Quick Fixes You Can Make in the Room Today
You can often make a bad room usable before buying acoustic panels. Start by changing the relationship between the talker, microphone, and reflective surfaces.
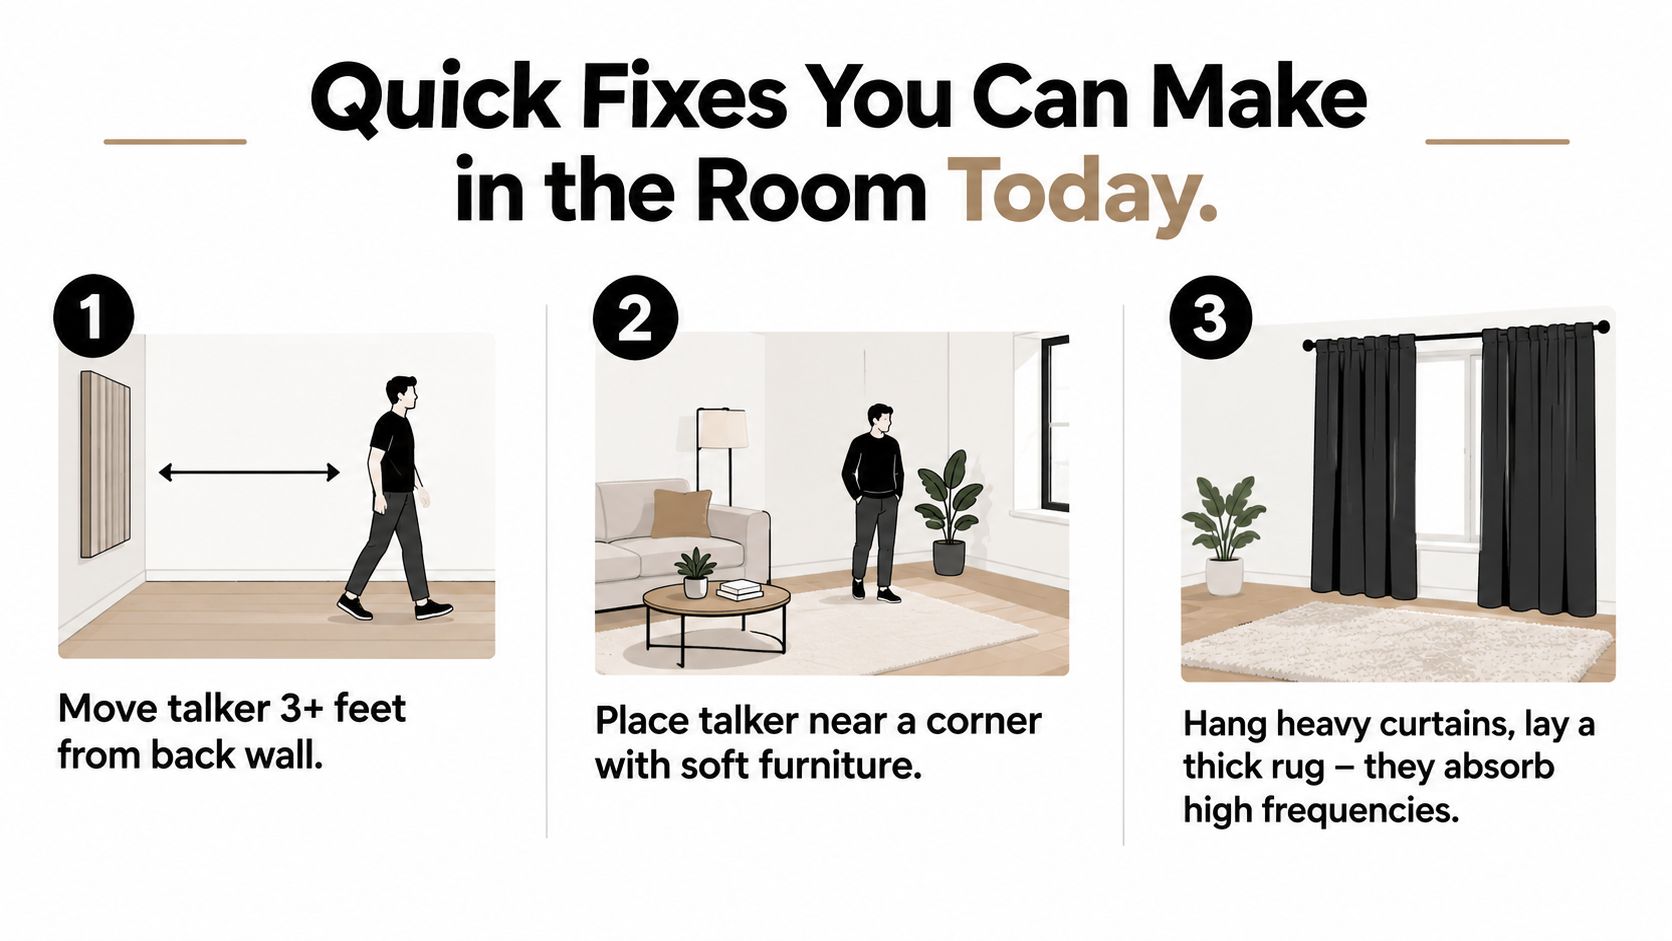
Move the speaker away from the wall behind them. A voice recorded with a hard wall immediately behind the talker sends a strong reflection back toward the microphone. Positioning the speaker near soft furniture can give that reflection somewhere less reflective to land, but don't place the person directly in the room's most resonant corner if the low end becomes thick.
Then soften the main paths:
- Hang a heavy blanket on the first obvious side-wall reflection point or behind the microphone. Blankets are effective as temporary treatment, although they can look improvised on camera.
- Put a rug under the speaking area. Hard floors reflect energy between the mouth and microphone, especially when the desk and walls are reflective too.
- Close curtains and fill open shelves. Books, clothing, cushions, and uneven objects break up large exposed surfaces. A full shelf scatters reflections more usefully than a bare, flat wall.
- Use furniture as treatment. A sofa, upholstered chair, or clothing rack can reduce the exposed hard area without making the room look like a studio.
- Move the microphone closer. More direct voice at the capsule means less room sound in the recorded signal.
For windows and blinds, a practical sound dampening blinds guide can help you think through the difference between covering a glass reflection and blocking sound transmission. Covering glass reduces a reflective surface, but it won't soundproof the room.
The fastest improvement usually comes from reducing microphone distance, not from covering the entire room.
Close-miking has costs. It can increase proximity-effect bass, plosives, mouth noise, and handling noise. Ask the speaker to stay consistent, use a pop filter, and angle the microphone slightly off-axis so bursts of air don't hit the capsule directly.
Choosing a Microphone and Placement That Fights the Room
Microphone choice matters, but placement usually matters more. A sensitive condenser placed far from the speaker will capture a polished version of the room. A close dynamic microphone can produce a less airy recording that's much easier to understand.
A dynamic cardioid such as an Shure SM58 rejects more room energy than an omnidirectional microphone because its pickup pattern favors the front and reduces sound arriving from the rear. An Electro-Voice RE20 is another useful option for spoken voice, especially when you need controlled proximity behavior. The Shure SM7B is popular in echo-prone setups because its directional pattern and rear rejection help prioritize the speaker over the room.
| Mic Type | Pattern | Room Rejection | Best For |
|---|---|---|---|
| Dynamic cardioid, such as Shure SM58 | Front-focused | Stronger rejection from the rear and sides | Interviews, calls, untreated rooms |
| Broadcast dynamic, such as Electro-Voice RE20 | Directional | Helps reduce surrounding room pickup | Consistent spoken-word delivery |
| Broadcast dynamic, such as Shure SM7B | Tight directional pickup | Useful when the speaker stays close and on-axis | Podcasts and voiceover |
| Condenser with a wide or omnidirectional pattern | Wider pickup | Captures more of the room | Controlled rooms and natural ambience |
Placement decisions that change the result
Keep the speaker close enough that the direct voice dominates, but don't force an uncomfortable posture. A distance around 4 to 6 inches is common for broadcast-style speech, with the warning that bass buildup and plosives rise as the microphone gets closer. Use a pop filter and angle the capsule slightly to one side.
The 3-to-1 rule can help when multiple microphones are involved. Keep the distance between microphones roughly three times the distance from each microphone to its intended speaker, which reduces unwanted spill and phase interaction.
Avoid aiming the microphone's least sensitive direction at the worst wall if that wall reflects toward the front of the capsule. Test the pattern rather than trusting the label. Also avoid recording in the exact room center when the low end becomes uneven, and isolate a tabletop stand from a resonant desk with a proper mount or soft isolation.
A towel behind a laptop microphone or a small reflection filter can reduce nearby desk and screen reflections, but these accessories won't replace treating a ceiling, wall, or hard floor that dominates the recording.
Cleaning Residual Echo With ClearAudio in Post
Room treatment and microphone placement should carry most of the load. Post-production is for the residue, especially late reverberation that remains after the direct voice has been made stronger. A distinct slap-back repeat needs different treatment from a diffuse reverb tail, so identify the artifact before processing.
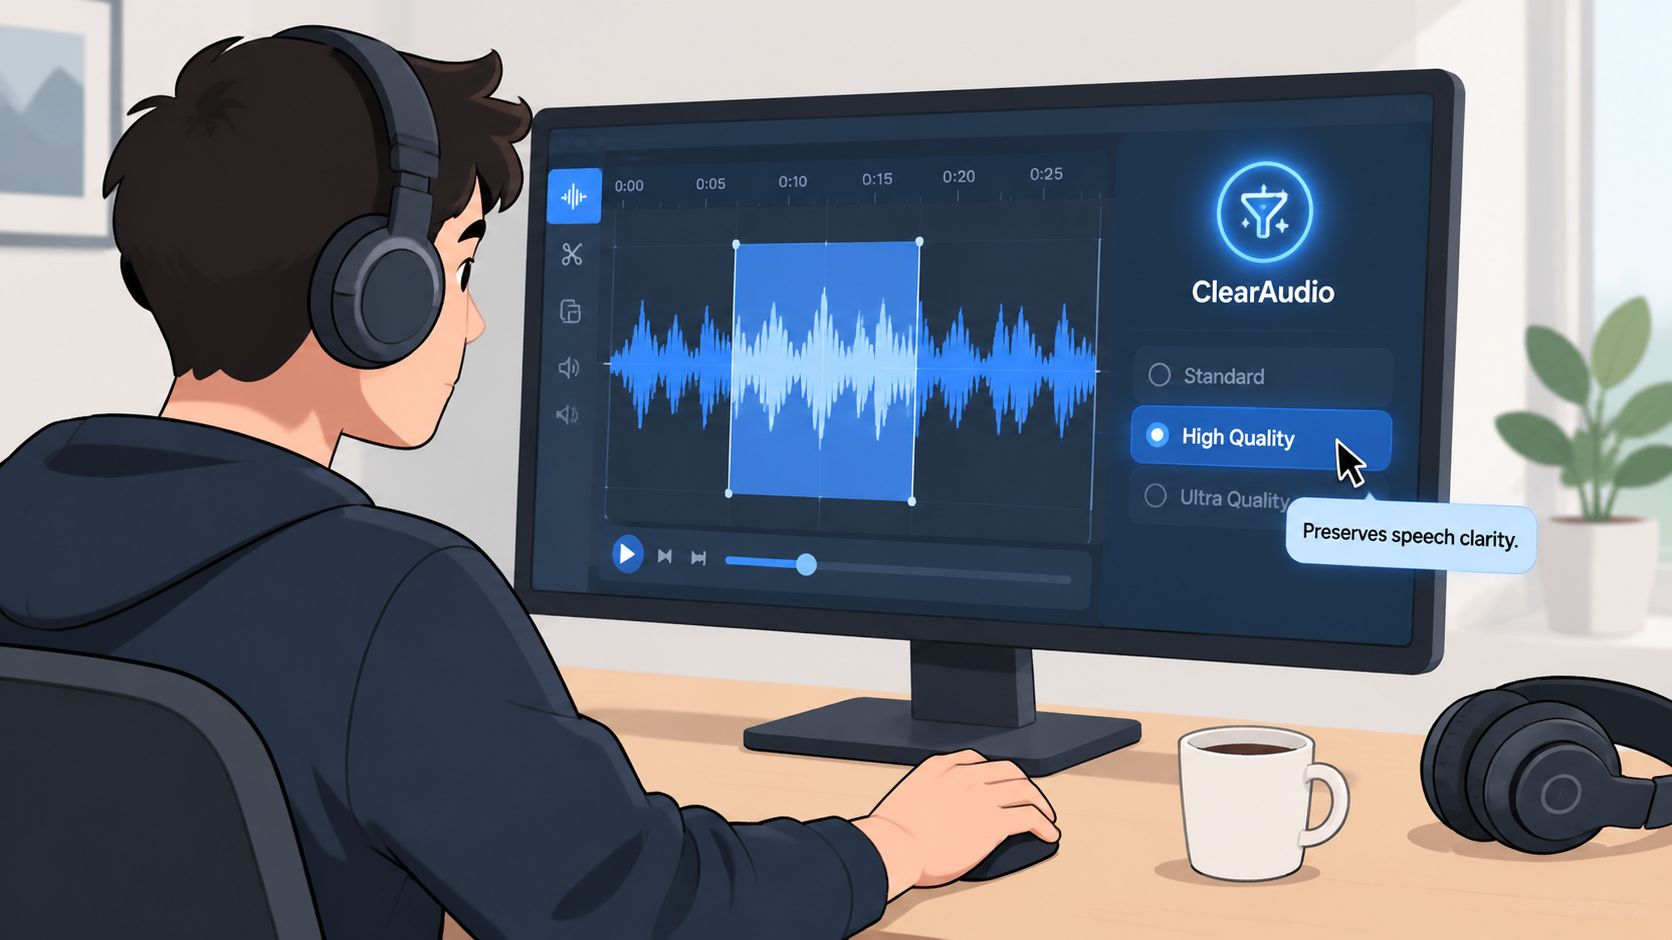
ClearAudio provides a browser-based workflow for uploading an audio or video file, choosing what to preserve, and describing the unwanted artifact in a prompt. For room cleanup, select speech or dialogue as the desired content and identify the problem as room echo or late reverb instead of requesting a vague “audio cleanup.”
A practical cleanup pass
- Load the cleanest source available. Heavy compression gives restoration less useful information and can make watery or metallic artifacts more obvious. Use the highest quality mode available when the recording matters, particularly for interviews and dialogue.
- Name the artifact precisely. “Remove the late reverb tail from this voice recording, preserve natural tone, and don't over-denoise” gives the processor a clearer target than “clean up this audio.”
- Process once, then compare at matched loudness. A louder result often seems better at first, even when it sounds less natural.
- Check the speech, not just the room level. Listen for distinct consonants, stable sibilants, and plosives without a metallic edge. A drier voice that is harder to understand is a worse result.
- Use a narrower second prompt only when needed. If the broad pass removes the room wash but leaves a repeat, describe that remaining problem directly, such as “reduce the slap-back repeat while preserving the voice's natural decay.”
Dereverberation systems cannot subtract one fixed filter from every recording. They estimate room behavior, model its parameters, and then estimate the clean speech signal. Speaker movement weakens a stationary-speaker assumption, so recordings with changing distance or position are harder to restore reliably (dereverberation model discussion).
Use a separate noise-reduction pass when hiss or hum is the main defect. A high-pass filter may be enough for low-frequency rumble, and de-reverb should not be asked to solve it. Unnecessary processing can remove breath, shift tone, or make a thin recording feel synthetic.
The following video demonstrates this type of browser-based cleanup workflow:
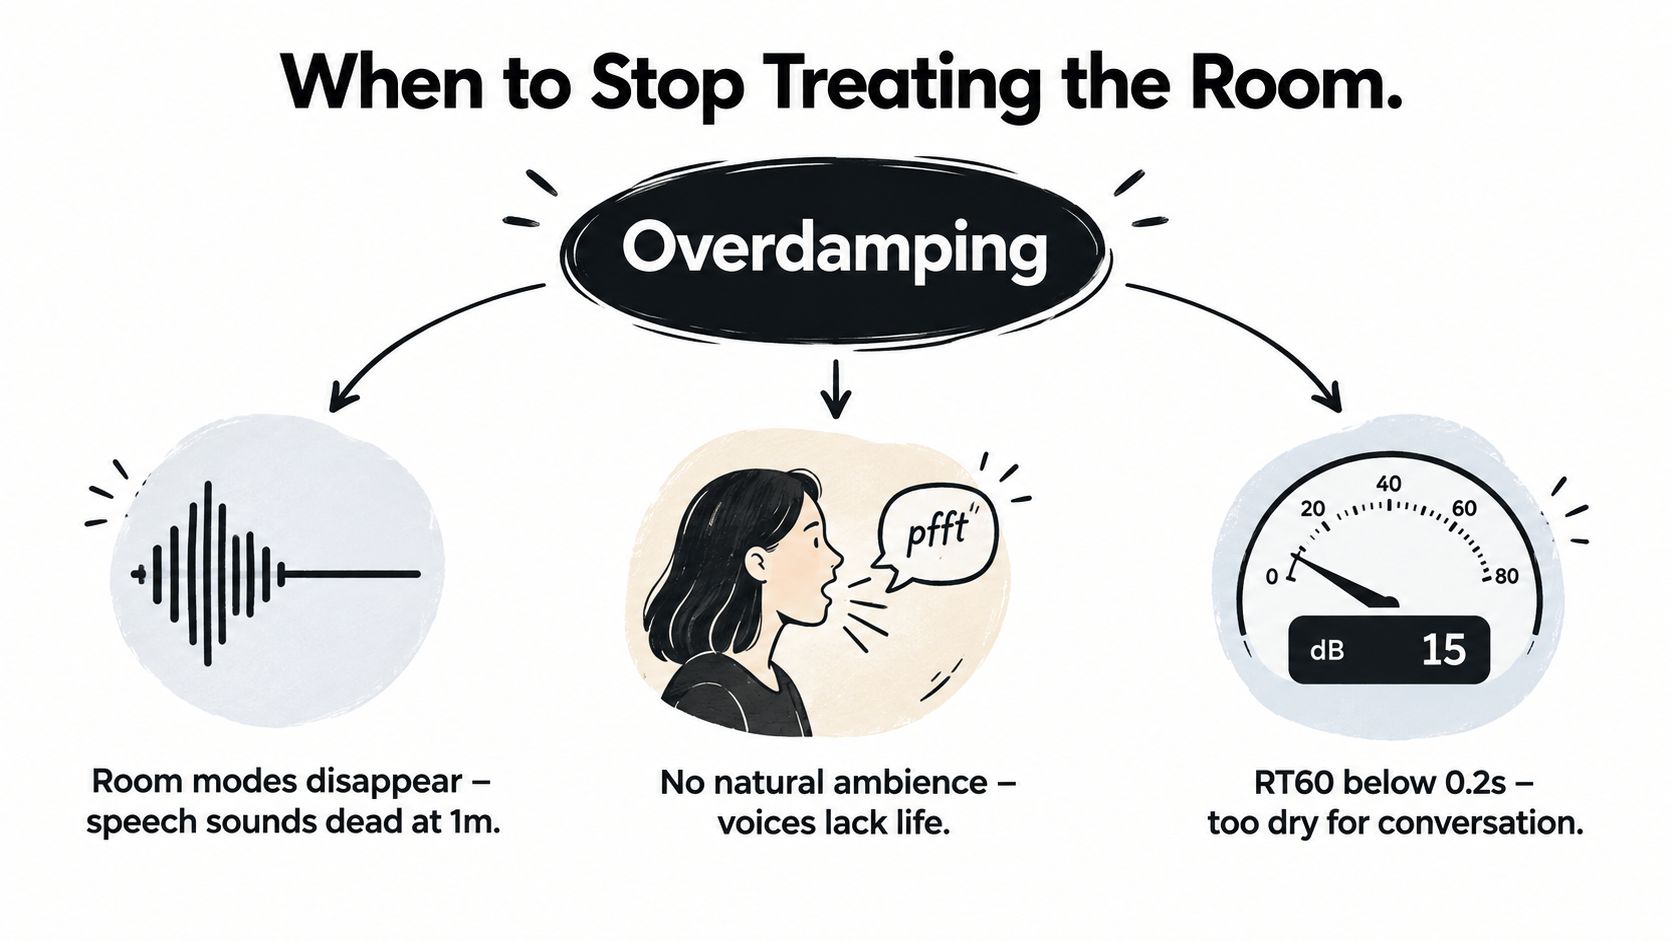
When to Stop Treating the Room
Covering every wall with foam is not an acoustic strategy by itself. Thin foam mainly changes high frequencies, while leaving the lower, speech-critical behavior largely intact. The clap may sound shorter, yet the microphone can still capture a boxy, distant voice.
Treat the room for the listening distance and recording format. Guidance for small speech spaces places a practical RT60 target below 0.6 seconds in conference and teleconference rooms, with 0.4 to 0.6 seconds often recommended for small rooms where consonant smearing is a concern (speech communication and room acoustics guidance).
The point of diminishing returns
Stop adding absorption when one of these conditions appears:
- The voice has lost useful character. A podcast can benefit from some natural space. If each sentence sounds trapped inside a tiny booth, the room is over-treated for that format.
- The remaining fault is not reverberation. A nasal tone may come from microphone angle or room coloration. A click may be an editing problem. More absorption will not fix either.
- The next improvement belongs elsewhere. Once the room is controlled, microphone position, gain structure, pop protection, and preamp noise may matter more than another panel.
Listener adaptation also changes the target. Research found that prior exposure to a room's acoustics improved speech reception thresholds by an average of 2.7 dB, corresponding to an intelligibility gain of more than 18 percentage points in the reported conditions (speech reception research). That does not excuse a poor recording, but it shows why making every room acoustically dead is not always the right goal.
Separate a distinct repeat from late reverberation before choosing the treatment. A strong slap-back usually calls for targeted absorption at the offending reflection path. A broad, lingering wash may need broadband treatment across key surfaces. In a larger room, diffusion can scatter reflections, preserve a sense of space, and reduce the repeat that attracts attention.
Your Pre-Recording and Pre-Export Checklist
A short routine catches most echo problems before they become editing problems. Run it before every important interview, even in a room you think you know.
Before recording
- Scan the room: Clap once, listen for a fluttering repeat, and identify the hardest wall or ceiling path.
- Change the geometry: Move the speaker away from the wall behind them and add a rug, curtain, sofa, blanket, or loaded shelf where reflections are strongest.
- Set the microphone distance: Keep the speaker close enough for a strong direct signal, then adjust gain so the voice stays clean and consistent.
- Check the angle: Turn the microphone slightly off-axis to reduce plosives and avoid aiming directly at the worst reflection.
- Record silence: Capture a short room-tone sample before the conversation so you can hear hiss, hum, computer fans, and intermittent noise.
Before export
- Process deliberately: Use a high-quality restoration mode for important dialogue and describe late reverb or slap-back specifically.
- A/B at matched loudness: Compare the processed file with the original, checking consonants, sibilance, plosives, and metallic artifacts.
- Test real playback: Listen on headphones, then on a speaker, phone, or laptop. A voice that sounds impressive on studio headphones may sound thin or smeared elsewhere.
- Keep natural tone: If the cleanup draws attention to itself, reduce the processing or revisit the recording rather than stacking more effects.
Make this a repeatable five-minute habit. Good placement and a controlled reflection path will save more time than trying to rescue a heavily reverberant take after the speaker has left.
ClearAudio lets you upload audio or video, preserve speech or dialogue, and target room echo with a prompt-based cleanup workflow. Visit ClearAudio to test the remaining reverb on your next interview and compare the processed result with the original before you export.