You can spend an hour cleaning a voiceover and still end up with muddy dialogue, rattling desk noise, and a vocal that feels like it was recorded under a blanket. The painful part is that the problem often isn't one thing, it's three at once, the speaker is vibrating the furniture, the room is folding sound back into the mic, and the recording still has to be intelligible enough to ship.
Speaker isolation sits right in that mess. In studio work, the term usually means reducing how much cabinet vibration reaches the desk, stand, shelf, or floor, while in post-production and AI workflows it means separating a target voice from everything else in the recording. Creators usually need both. One happens before the file exists, the other happens after.
Table of Contents
- Defining Speaker Isolation
- Physical and Digital Approaches to Speaker Isolation
- Quality Metrics and How to Evaluate Results
- Speaker Isolation Workflow with ClearAudio
- Recommended Settings for Common Use Cases
- Troubleshooting Speaker Isolation Problems
- Building Your Speaker Isolation Practice
Defining Speaker Isolation
The most common moment of panic is simple. You cut a podcast interview, hear the guest clearly, and then notice the chair squeak, the laptop fan, the desk resonance, and the other person's voice bleeding through the same breath. At that point, speaker isolation stops being an abstract audio term and becomes the difference between a usable edit and a file that needs rescue.
Two meanings, one goal
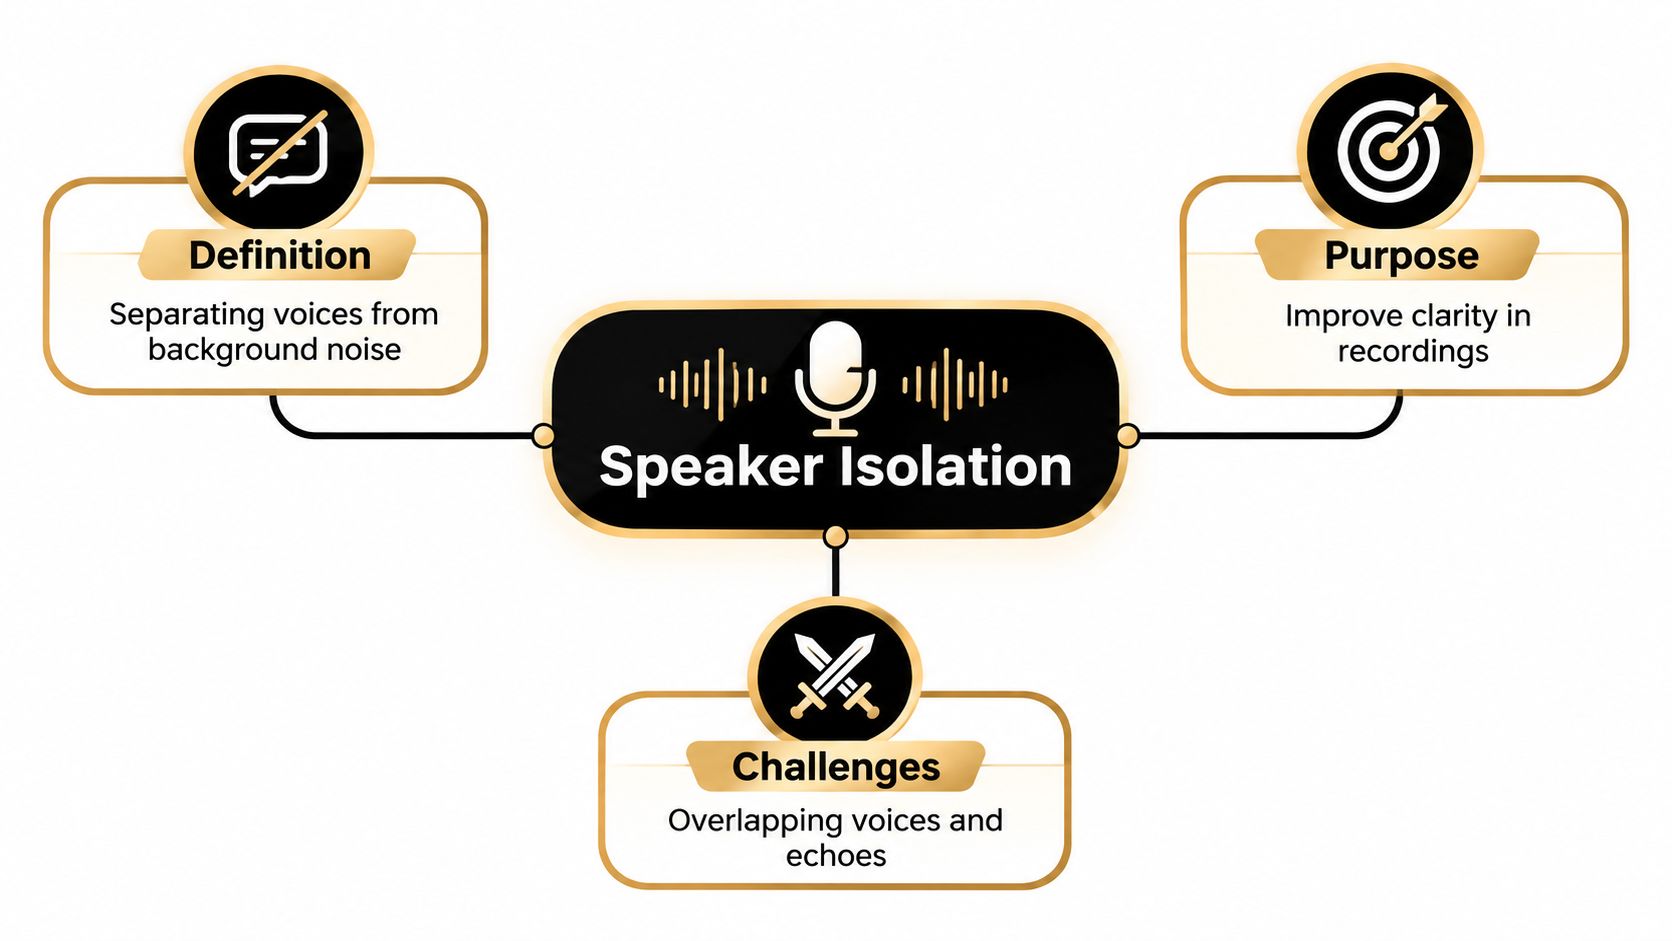
In practice, speaker isolation has two related meanings. The first is physical, where you reduce the transfer of vibration from a loudspeaker into the surface it sits on. The second is digital, where you separate a voice from competing sound sources in a recording. Both aim to control what reaches the listener, but they operate at different points in the chain.
Physical isolation changes the path of vibration before it colors the room, desk, or stand. Digital isolation changes what remains after capture, so the vocal can survive a messy recording without dragging the rest of the room along with it.
That distinction matters because the wrong fix wastes time. If the problem is a buzzing monitor on a hollow desk, neural separation will not remove the resonance that should never have been captured. If the problem is two people talking over each other on a conference recording, mechanical decoupling will not help at all.
Core takeaway: speaker isolation is not one trick, it is the choice between controlling vibration at the source and separating sound after capture.
Why creators care about it
For creators, the practical goal stays the same, preserve the thing the audience needs to hear, and reduce everything that competes with it. That can mean cleaner monitoring in a room, less bass smear from a sub on a shelf, or a voice stem that can survive editing without sounding processed. The language changes, but the job does not.
The hard part is that good isolation often looks modest on paper. Published tests have found measured changes that are usually small, and one review noted differences mostly below 1 to 2 dB, while another test showed about 1 dB lower SPL above roughly 600 Hz with isolators in place Stereophile's summary of loudspeaker isolation tests. That fits the reality of decoupling, since the goal is to keep vibration from entering the structure, not to reshape the speaker's tonality.
That subtlety is why people argue about it. Some creators expect a dramatic sonic transformation and miss the point. Others dismiss it because they cannot hear a night-and-day change, even though the mechanical problem is still there.
Physical and Digital Approaches to Speaker Isolation
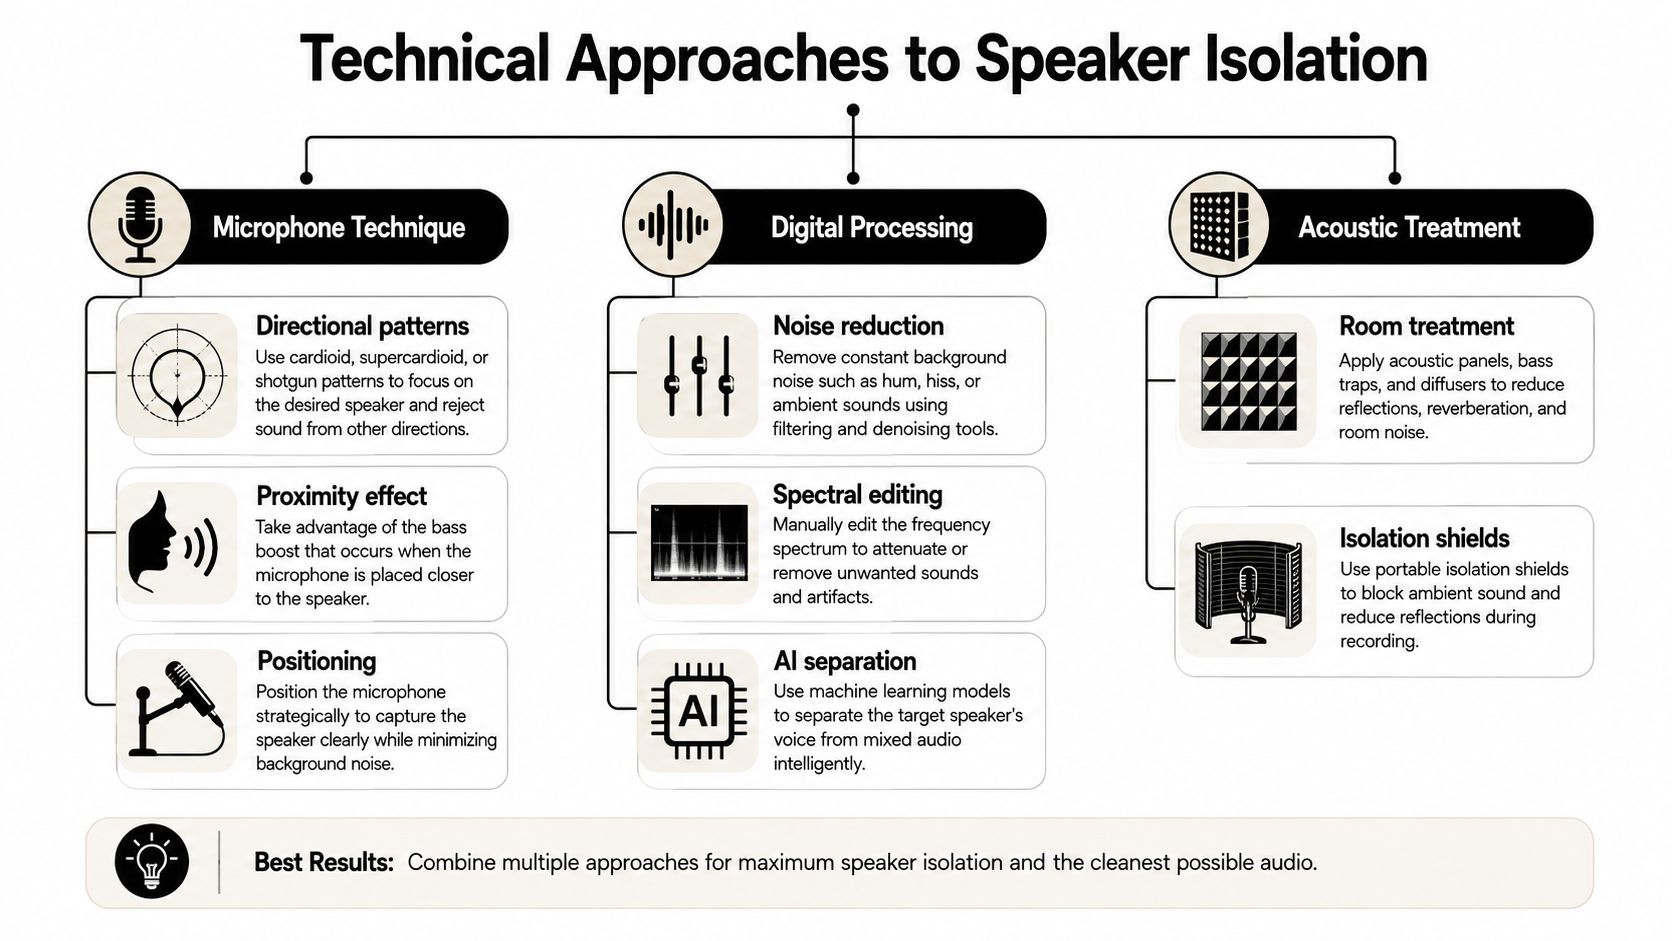
Most production work ends up using one of two toolsets. You either stop unwanted energy from entering the recording chain at the source, or you clean up what slipped through after capture. Both can help, but they solve different problems, and mixing them up leads to poor choices.
Physical control at the source
The first family is mechanical decoupling. Isolation feet, pads, stands, and mounting hardware interrupt the path between the speaker cabinet and the support surface. That matters because vibration does not stay inside the box. It travels into the desk, the stand, the shelf, and the floor, then comes back as resonance, bass smear, and blurred imaging practical buyer guidance on speaker isolation pads.
For monitors on desks or shelves, placement matters as much as the material. ISO-130 style stands offer 14 height and tilt combinations, a height range of 2.8 in to 8.25 in, and up to 6.5° of tilt, which lets you align the tweeter to ear height while still decoupling the cabinet ISO-130 product page. That helps because the best pad in the wrong position still gives you poor monitoring geometry.
With heavier boxes, load rating becomes the limiter. Published specs for products such as IsoAcoustics GAIA I rate support at up to 75 kg (165 lb) per speaker, and that figure exists because isolation depends on correct loading, not just physical strength. Underload the device, overload it, or place it unevenly, and the tuning falls apart.
A shelf that sings along with the speaker is a monitoring problem, not a tuning problem.
Digital separation after capture
The second family is signal processing and AI-based source separation. Traditional tools include high-pass filtering, gating, spectral editing, and phase-based cleanup. Those can help when the unwanted sound is stable and distinct, but they become risky fast when it overlaps the speech you care about. A gate that opens and closes too aggressively can chop natural phrasing. A spectral edit can remove hiss and leave a hollow top end.
AI separation works differently. It tries to infer the voice itself and separate it from the rest of the mix using learned patterns, which is why it can rescue recordings that older tools flatten or distort. The trade-off is that AI can still make a voice sound unnaturally smooth, stripped, or phasey if the source is too crowded or if the algorithm guesses wrong.
A practical way to choose is simple. If vibration is the problem, fix vibration. If overlap is the problem, use separation. If both are present, solve the physical issue first, then clean the file.
The contrarian point is worth keeping in mind. Some critics are right that many measured improvements from isolation hardware are small, and that what people hear as “better sound” can sometimes come from a height change that shifts the floor-bounce null rather than from pure decoupling analysis of isolation products. That does not make the hardware useless, it just means you should know what changed before you credit the wrong cause.
Choosing the right category
The fastest way to choose is to ask where the damage starts. If the desk or stand is ringing, start with physical isolation. If the file already contains overlapping dialogue, room echo, or noisy ambience, start with digital separation. If both are true, do not expect one tool to solve the whole chain.
Creators often get stuck because they buy a product that solves the wrong layer. A pad will not separate two voices in a podcast edit. An AI separator will not stop a subwoofer from exciting a shelf. The first step is always to identify which layer is failing.
Quality Metrics and How to Evaluate Results
A clean result isn't the same as a strong one. Some isolated speech sounds quieter, some sounds brighter, and some sounds strange in ways that are easy to miss if you only listen for obvious noise. The job is to judge whether the processing improved the recording without making the voice less believable.
What to listen for
Start with intelligibility. Can you understand the words without straining? If you can, move to tone. Does the voice still sound like a person speaking in a real space, or does it feel clipped, metallic, or unnaturally dry? Then check for the artifacts that usually show up when isolation is pushed too hard.
- Phasing artifacts: The voice sounds swirly, comb-filtered, or slightly out of step with itself.
- Musical noise: Tiny tonal blips appear where broadband noise used to live.
- Vocal thinning: The chest and body of the voice disappear, leaving something too light to trust.
- Over-cleaning: Ambience is gone, but so is all sense of place, and the result feels pasted together.
These are not just aesthetic complaints. They tell you the tool has started removing information the ear uses to understand speech naturally.
A practical decision rule
Practical rule: accept a little noise if the voice still sounds human, but stop the moment cleanup starts stealing consonants, warmth, or timing.
That rule matters because most creators overcorrect. They hear leftover room tone and keep pushing until the vocal turns brittle. In editing, a slightly noisier file is often better than a pristine file that sounds processed. Audiences forgive a little ambience much faster than they forgive a voice that sounds cut apart.
Comparing improvement against damage
The simplest evaluation method is to compare three things. First, the original recording. Second, the isolated pass. Third, the isolated pass played at the same loudness as the original. That last comparison is important because louder files often feel “better” even when they aren't.
Listen for the point where added processing stops improving clarity and starts changing identity. If the voice becomes easier to hear but harder to believe, you've gone too far. If the room is still there but the sentence lands cleanly, that's usually the better trade.
The key is not perfection. It's controlled loss. Every isolation step removes something, so the question is whether you're removing the right thing.
Speaker Isolation Workflow with ClearAudio
A rough recording usually arrives with a history. It might be a podcast interview captured in a reflective room, a video shoot with one person talking over another, or a field recording where the voice matters more than the traffic, fans, or distant chatter. The workflow that saves time is the one that treats the file like a cleanup job, not a miracle test.
Start from the target, not the problem
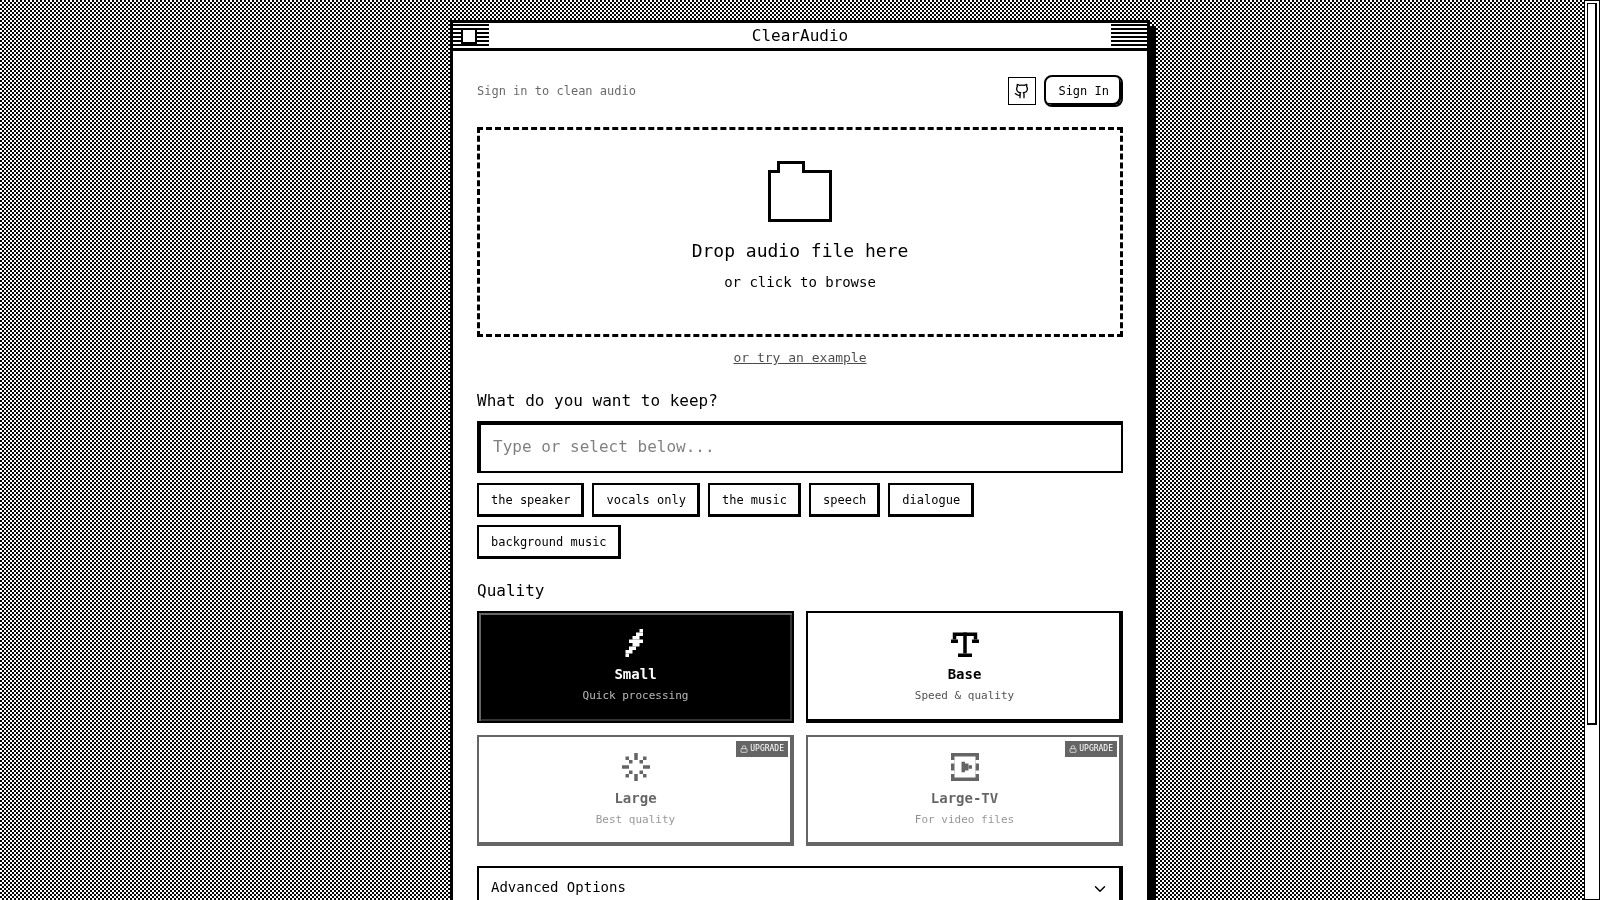
The first move is to define what should remain. If the goal is dialogue, ask for dialogue only. If the goal is vocals for a remix, ask for vocals only. If the source contains useful ambience, don't ask the tool to erase it just because the file is messy.
That approach matches how modern AI cleanup works. You aren't just stripping noise, you're telling the system which component matters most. The cleaner the instruction, the fewer chances the tool has to overreach.
Use the lightest mode that gets you there
A fast pass is useful when you're checking whether the file is salvageable. A balanced pass is useful when you're preparing a deliverable. The heavier settings are the ones you save for final output, especially when the source has multiple problems layered together.
The best workflow is usually iterative. Run a quick pass, listen, then decide whether the voice needs more separation or just a better balance against the remaining room tone. That sequence keeps you from overprocessing early and gives you a reference point for each adjustment.
Watch the cleanup, not just the silence
A useful output doesn't just sound quieter. It sounds more legible. Noise, hum, hiss, and room echo should recede far enough that the words carry naturally, but not so far that the voice loses texture. If the vocal gets too polished, you'll hear it immediately in sibilants, breath, and cadence.
The practical win here is speed. Files that would normally require a chain of edits can often be brought into a publication-ready state in minutes, as long as you know what you want the tool to preserve and what you're willing to lose. That doesn't replace engineering judgment. It amplifies it.
Treat the result like an edit, not an ending
The output still needs a listening pass. Check the consonants, the pauses, and the moments where the speaker changes distance or turns their head. Those are the places where separation artifacts usually show up first.
If the file sounds credible at normal listening volume, you're done. If you can hear the algorithm working, back off and keep more of the original. The point is publishable audio, not a demonstration of how hard the processor can work.
Recommended Settings for Common Use Cases
Different jobs want different levels of isolation, and a single aggressive setting is usually the wrong answer. The best choice depends on whether the recording will be judged for naturalness, speed, music compatibility, or journalistic clarity.
Podcasts and interviews
For spoken-word podcasts, start with the goal of preserving the voice's shape. You want enough cleanup to remove room hash, chair noise, and light bleed, but not so much that the interview sounds disconnected from the people speaking. The voice should still feel conversational, not carved out of the room.
A sensible approach is to favor moderate separation and avoid chasing total silence. If the recording is already intelligible, a lighter pass often wins because it keeps breath, pacing, and room cueing intact. That matters when multiple speakers need to sound like they were in the same conversation rather than assembled from separate worlds.
Video post-production
Dialogue in video usually has tighter deadlines and more visual context. The audio has to match lips, room perspective, and scene energy, so over-cleaning can create a mismatch that the viewer feels even if they can't name it. In that context, an edit that keeps a little ambience is often more believable than an edit that sounds surgically detached.
If people are talking over each other, prioritize the line that carries the story. Don't fight every overlap equally. Pull the clearest anchor voice into focus first, then decide whether the second voice should remain as ambience or be reduced for clarity.
Music production and stem extraction
Stem extraction is where people often ask too much of isolation. Vocals from a mixed song can separate well enough for remix work, but the result still needs judgment because phase coherence and harmonic bleed matter more here than they do in speech cleanup. What sounds acceptable in a podcast can sound brittle inside a song.
If the vocal will sit back into a dense arrangement, keep in mind that perfect separation is less important than musical usability. A slightly imperfect stem that keeps the phrasing intact is usually more useful than a cleaner one that strips out transients and air.
Field recordings and journalism
Field work is different because the environment may be part of the story. In that setting, total removal of background sound can flatten the scene and make the recording feel false. The goal is to increase speech intelligibility while preserving enough context that the listener still knows where the recording happened.
That usually means choosing restraint. If a street interview still sounds like a street interview, and the reporter's questions are clear, the job is probably done. Over-isolation in journalism can make a real-world recording feel staged.
Troubleshooting Speaker Isolation Problems
Most bad isolation results fail in recognizable ways. The trick is to diagnose the symptom first, then back into the cause. That saves time and keeps you from stacking fixes that create new problems.
Residual room reverb
If the voice still sounds boxed-in after cleanup, the issue is usually that the reverberation was baked into the original capture. That kind of room sound is harder to remove than simple hiss or hum because it shares energy with the voice itself.
The fix is usually to reduce processing aggression and combine methods more carefully. If the source is still available, a second pass with a different focus often works better than one heavy pass. If not, accept a partial improvement and keep the voice natural enough to trust.
Phasing and swirls
If the vocal moves in and out of focus or sounds like it's rotating slightly, the separator has probably overestimated what belongs to the voice. That often happens when competing sounds sit too close to the target frequency range.
Back off the strength of the separation, then re-check the result at a lower playback level. Artifacts often become easier to hear once the loudness bias disappears. If the swirls remain, the source is probably too crowded for a clean split without collateral damage.
Vocal thinning
A voice that loses weight usually means too much body was removed along with the noise. This is common when a tool tries to make the file sound ultra-clean by stripping too aggressively around the lower mids and warmth region.
The best fix is restraint, not more correction. Restore some of the original character if you have access to a mix of processed and unprocessed versions, or choose a lighter setting on the next pass. A little room tone often beats a voice that feels skeletal.
Background sounds that cling to speech
Sometimes a keyboard click, fan tone, or distant traffic gets misread as part of the voice, especially when it lines up with pauses or consonants. That's where AI and traditional cleanup both need careful listening, because the ear can confuse co-occurring sounds with speech energy.
In those cases, isolate the exact moment and compare it against the surrounding words. If the artifact appears only when the speaker pauses, the tool is probably following timing too closely. If it appears throughout, the source needs another pass with a narrower goal.
Clean up in layers. One restrained pass that improves clarity is more useful than three aggressive ones that each introduce their own problems.
Building Your Speaker Isolation Practice
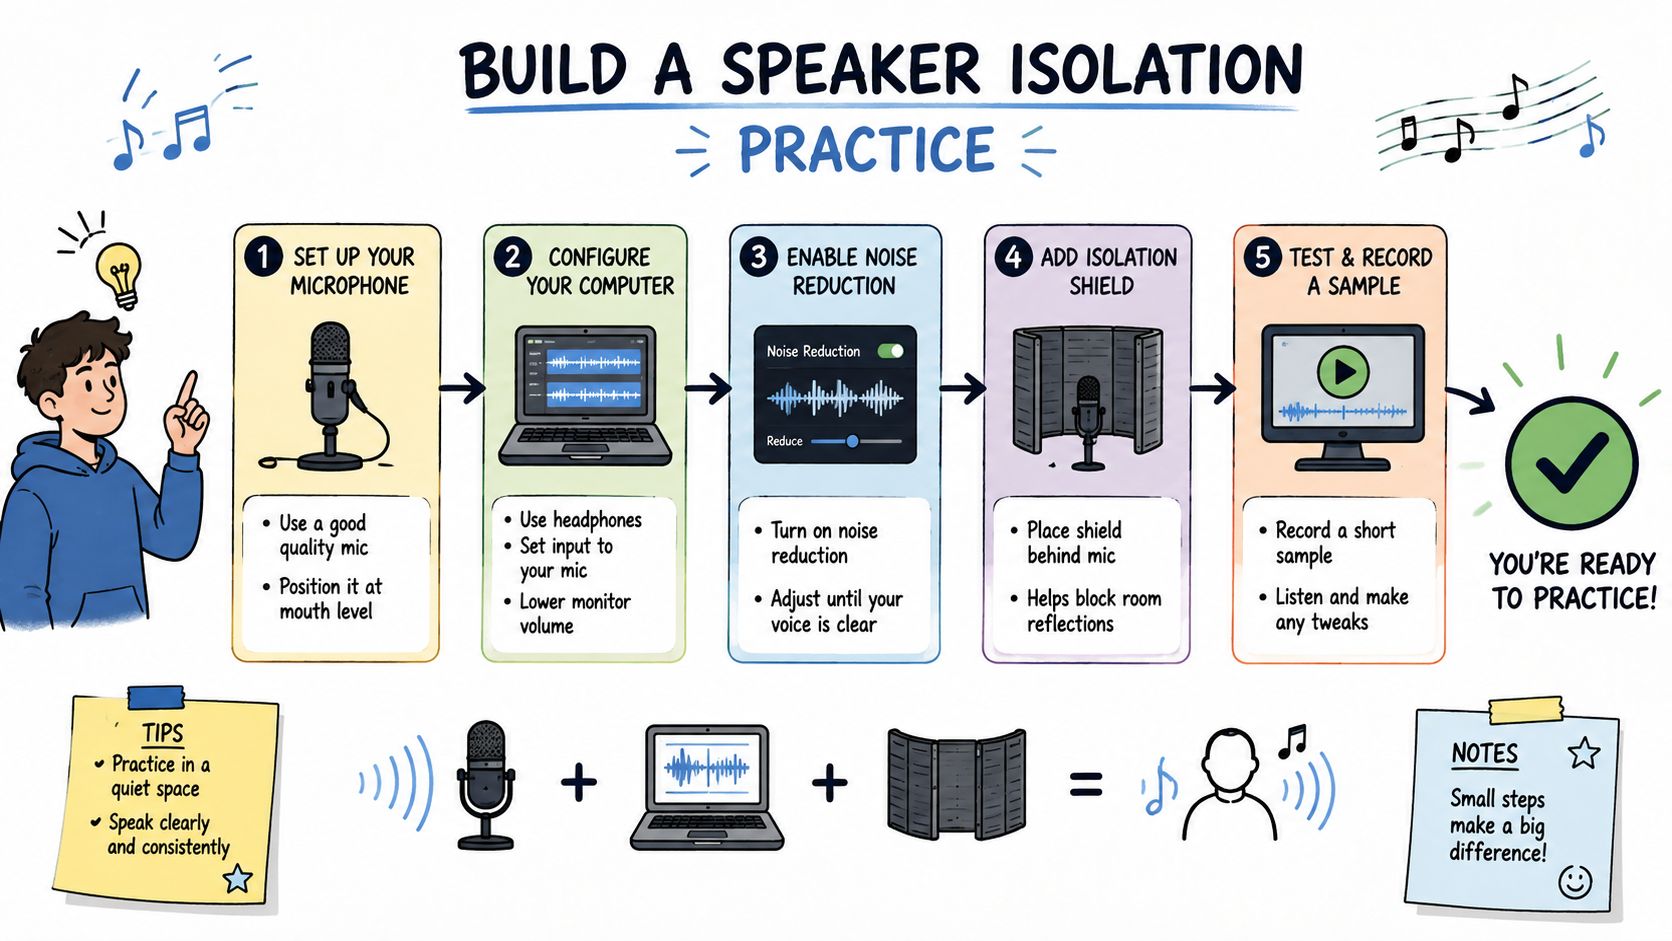
The cleanest workflow starts before the edit bay. Good mic placement, stable stands, and sensible monitoring habits cut down the repair work later, and they also make it easier to hear what the recording needs. After that, the question is which layer is failing, the physical setup, the recording itself, or both.
Build the habit around the source
If the speaker is sitting on a desk or shelf that rings, fix the support first. If the file already exists and the voices overlap, treat it as a separation problem. If the recording is borderline in both ways, solve the physical issue on the next session and the digital issue on the current one.
That sequence saves time across real projects because it keeps you from asking post-production to do room work that should have happened at capture. A cleaner recording still gives you the best odds, even if you know AI tools can do a lot after the fact.
Use AI as an amplifier, not a crutch
AI separation works best when it has a clear target and a source file that still has some room to work with. It struggles when you ask it to rescue a badly placed microphone in a reflective room with multiple overlapping voices. That is not a failure of the tool, it is a mismatch between the problem and the method.
The practical habit is to treat AI cleanup as a precision layer. It can remove what physical setup missed, but it cannot turn a bad capture into a perfect one without trade-offs. Creators who understand that boundary get better results and spend less time chasing artifacts.
Choose based on the job
For a podcast or interview, preserve natural speech first. For video, keep sync and scene realism intact. For music, protect stem quality and musical context. For journalism or field recording, leave enough ambience to keep the result believable.
If the recording is meant to sound like people in a room, do not strip the room away so hard that the scene feels fake. If the priority is intelligibility, accept some ambience loss to keep the voices clear. Those trade-offs are normal, and the right choice depends on what the audience needs to hear.
Decision tree: fix the source when you can, separate the file when you must, and use the least aggressive method that still protects the story.
Speaker isolation is already moving toward more flexible AI separation, but the basic logic stays the same. Good creators still judge the recording first, choose the layer that needs fixing, and stop before the repair becomes more obvious than the problem.
If you want faster cleanup without giving up control, ClearAudio gives creators a simple way to isolate speech, reduce noise, and handle messy recordings without a heavy technical setup. It fits this workflow from rough source to publish-ready audio, so if you are tired of fighting bad dialogue one artifact at a time, visit ClearAudio and see how it handles your next recording.