You've got a clip that almost fits. The interview runs long by a few breaths, the music cue lands a little early, or the voiceover feels rushed against the cut. That's the exact moment time stretching audio becomes useful, because it lets you change duration without turning a clean recording into the cartoonish “chipmunk” version you'd get from simple speed-up.
For producers, editors, and podcasters, the skill isn't just knowing that time stretching exists. It's knowing when to use it, how far to push it, and when a clean re-edit is the better call. That choice matters most with speech-heavy material, where a tiny timing fix can sound invisible or painfully obvious depending on the source and the algorithm.
Table of Contents
- What Is Time Stretching and Why Does It Matter
- How Time Stretching Decouples Pitch and Tempo
- The Three Core Time Stretching Algorithms
- Common Audio Artifacts and How to Prevent Them
- Practical Workflows for Music and Speech
- Your Checklist for High-Quality Time Stretching
What Is Time Stretching and Why Does It Matter
A podcast editor has a 30-second sponsor read that runs 2 seconds too long. A video editor has dialogue that misses a cut point by a beat. A producer has a loop that feels right musically, but it won't sit on the project tempo. In all three cases, time stretching solves the same problem, it changes how long the audio lasts without changing how high or low it sounds.
That's why it's more than a convenience feature. Time stretching gives you editorial freedom when the performance is good, but the timing needs help. It sits between basic cutting and full performance replacement, which is why it shows up in sample-based music, post-production, and restoration workflows.
The practical upside is simple. You can make audio fit the picture, fit the groove, or fit the slot, while keeping the original pitch intact. The limitation is just as important, the farther you push the stretch, the more likely the result starts to sound processed instead of natural.
How Time Stretching Decouples Pitch and Tempo
The simple mental model
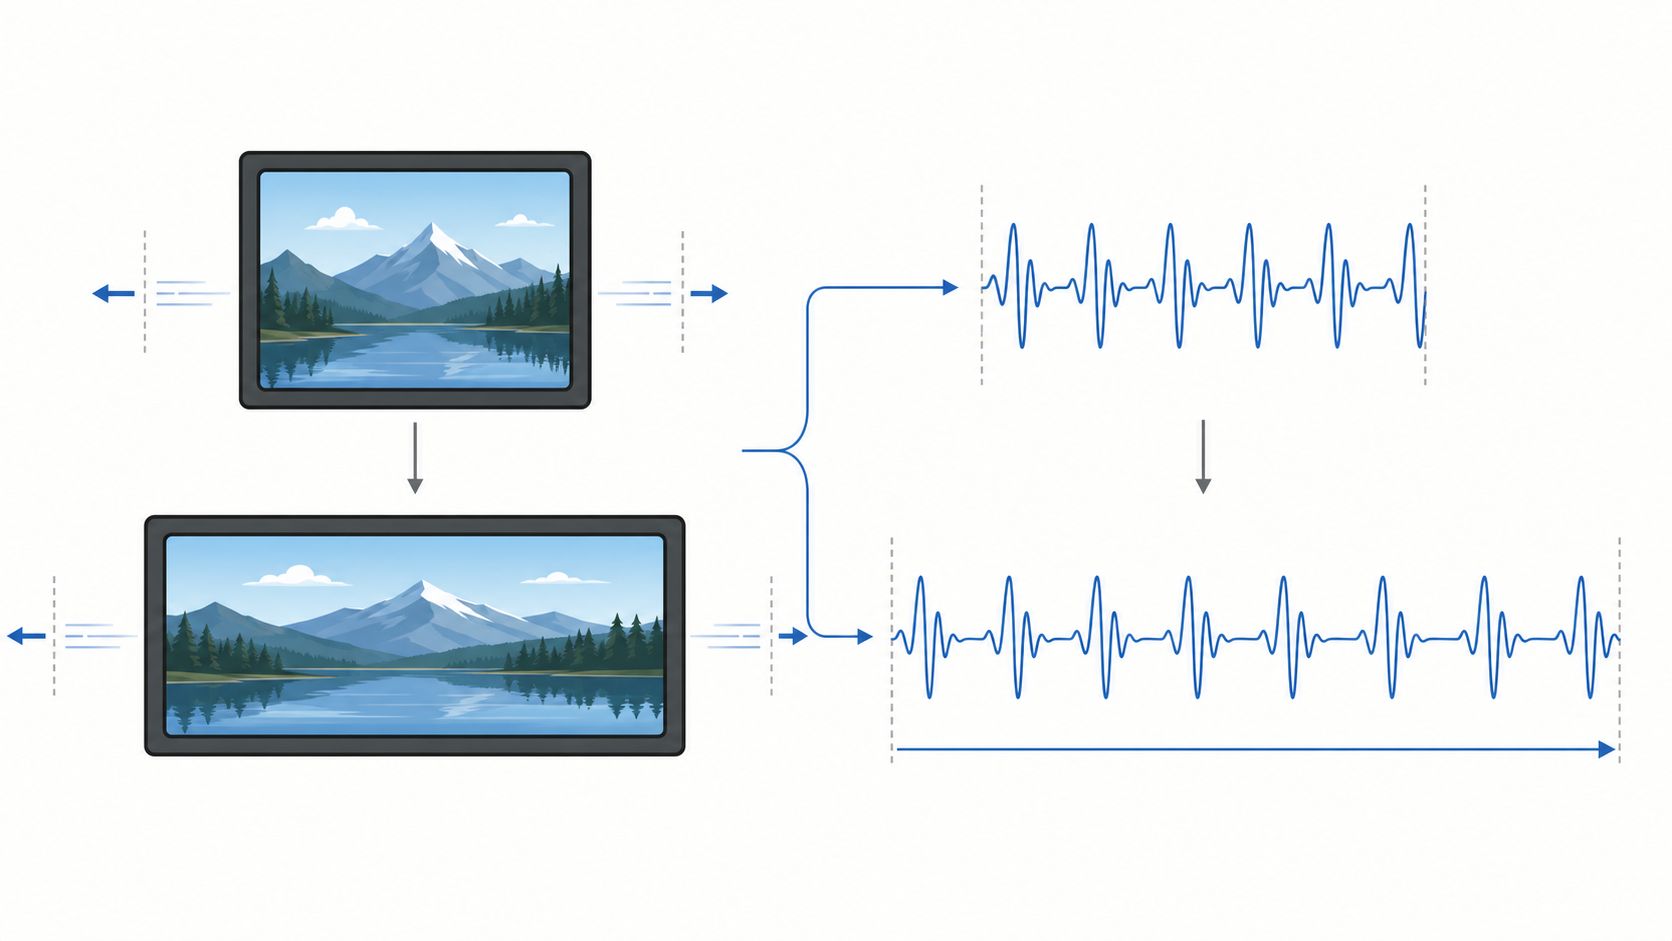
Think of a photo being stretched. If you drag the corners of an image without any intelligence, faces warp and edges blur. Good audio software doesn't do that. It analyzes the sound, rearranges the timing information, and rebuilds the signal so the duration changes while pitch stays put.
That separation is the heart of time-scale modification. In plain terms, tempo is the timing of the sound, while pitch is the frequency content that makes a voice sound high or low. Time stretching changes one without forcing a change in the other, which is why it's so useful in editing and remix work.
A useful way to picture it is fabric. If you pull a shirt in one direction, the whole shape can distort. Audio stretching avoids that by working with the structure of the sound itself, not just the outer shape you hear.
The math underneath the workflow
Standard teaching materials describe the calculation as new length = original length × (original BPM / target BPM), and that relationship is built into modern audio tools such as librosa's time stretch function. So a 120 BPM loop stretched to 90 BPM must become longer by 33.3%, while the same loop moved to 150 BPM must be shortened to 80% of its original duration, according to the same reference.
That formula matters because it turns a creative problem into a controlled edit. You're not guessing at “close enough,” you're deciding how the source should behave relative to the new timing. For producers, that means beatmatching and sample alignment. For editors, it means lining up a spoken sentence with a cut or a scene cue.
Practical rule: if you can describe the change as a timing problem, not a pitch problem, time stretching is usually the right tool.
The important takeaway is that time stretching is not magic. It's a mathematically bounded process, and the more you ask it to do, the more the software has to rebuild the signal instead of nudging it into place.
The Three Core Time Stretching Algorithms
Phase vocoder, granular methods, and WSOLA
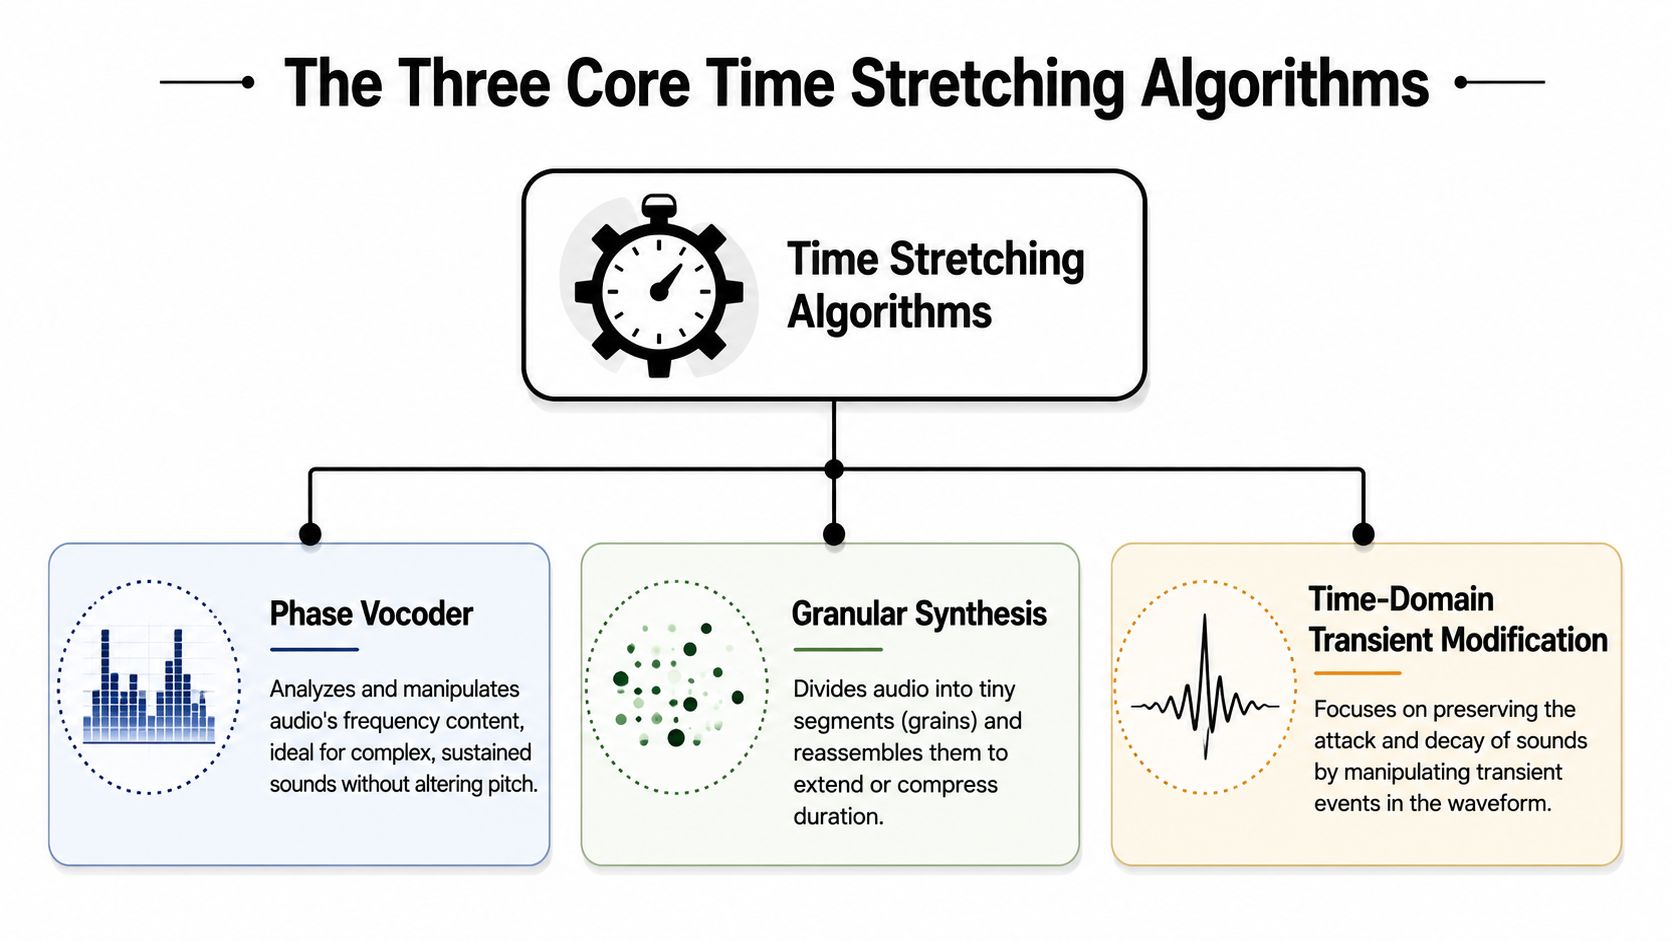
Modern implementations typically rely on phase vocoder, WSOLA, or granular/spectral resynthesis, depending on whether the source is tonal or transient-heavy, as described in the timestretch crate documentation. That choice matters because each method preserves a different part of the sound well, and each leaves a different kind of fingerprint when pushed too hard.
A phase vocoder is like taking many rapid snapshots of the sound spectrum, then spacing those snapshots farther apart or closer together. It tends to protect sustained harmonic material better, so it can work well on pads, vocals, and other smooth sources. The trade-off is that sharp attacks can smear if the material is percussive.
Granular synthesis slices audio into tiny grains and reassembles them at a new spacing. That makes it flexible and creative, especially for sound design, but the grain structure can become audible if the setting is aggressive. It's often less about invisibility and more about intentional texture.
WSOLA stands for waveform similarity overlap-add, and the name tells you the logic. It looks for similar sections of waveform and overlaps them so the join sounds natural. That makes it useful when you care about preserving the feel of speech or rhythm more than perfect spectral purity.
Which one fits which source
A quick way to choose is by source type. Sustained tonal material usually tolerates phase-vocoder approaches better. Speech and drums often respond better to transient-aware methods like WSOLA because they reduce smearing on consonants and hits.
| Audio type | Best-fit tendency | Main strength | Common risk |
|---|---|---|---|
| Sustained vocals or pads | Phase vocoder | Keeps harmonic content stable | Smearing on sharp attacks |
| Speech and dialogue | WSOLA-style methods | Preserves natural phrasing better | Can still sound strained when pushed |
| Creative sound design | Granular methods | Flexible texture and morphing | Graininess at higher stretch amounts |
If you work in a DAW that exposes multiple stretch modes, the experiment gets underway. Use the method that protects the part of the sound you care about most, not the one that sounds impressive on paper.
The broader lesson is simple, algorithm choice affects artifact type. Harmonic preservation and transient preservation are different goals, so a single “best” setting doesn't really exist for every source.
For a deeper visual explanation, the embedded video below shows the concept in motion.
Common Audio Artifacts and How to Prevent Them
What bad stretching sounds like
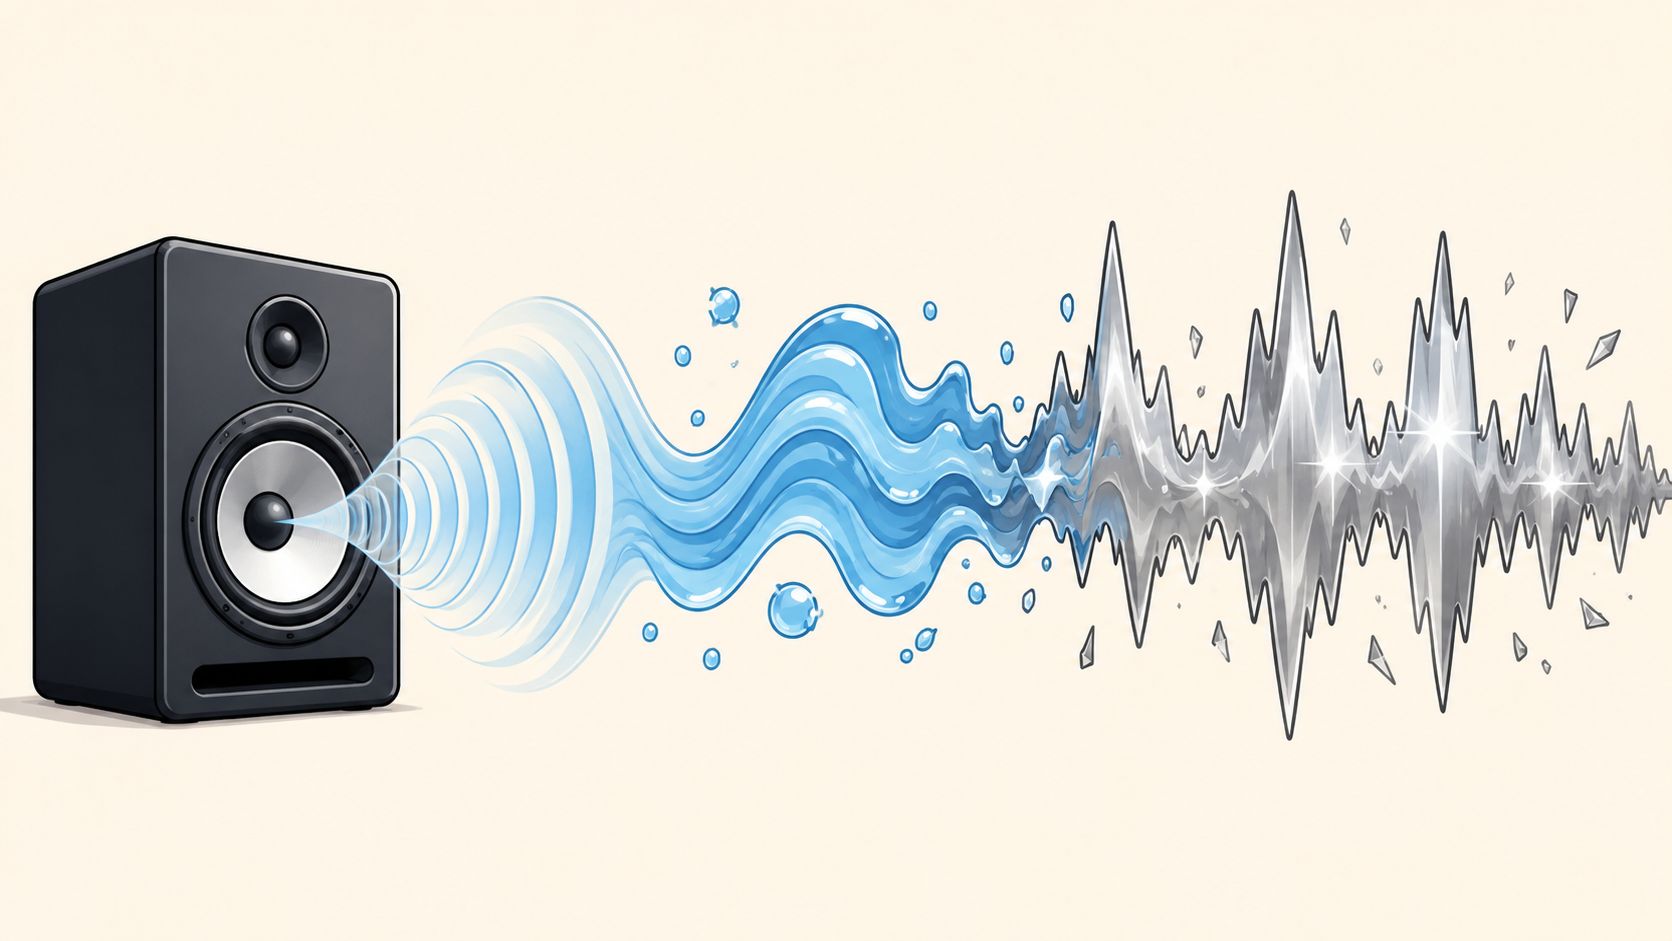
A stretch problem often shows up in the ears before it shows up in the waveform. Vocals can take on a watery or slightly metallic edge, drums can lose punch when the transient attack softens, and fast dialogue can develop a hollow, phasey character that makes the speaker sound farther away than they are.
These problems come from a mismatch between the material and the processing choice. A method that keeps sustained tone stable may blur a consonant, while a transient-aware method may hold a snare hit together and still leave long vocal notes a little less smooth.
How far you can push it
A useful way to judge stretch limits is to listen for where the material starts to lose its identity. One practical reference from Steinberg's WaveLab says to keep speech within about ±30%, composite music within about ±10%, and sensitive solo material such as piano within about ±3% to avoid audible degradation, with artifacts becoming more noticeable outside those ranges (Steinberg WaveLab documentation). Julian Simmons' reference on extreme time stretching also points out that transparent results are usually maintained only within about 75% to 125% of the original length, which matches the same basic warning about pushing the process too far (extreme time stretching reference).
Once you move outside moderate ranges, the real question is not whether the software can process the file. It is whether the listener can hear the artifact.
A conservative workflow keeps stretching for moderate timing correction and saves heavier repairs for re-editing. That matters most with speech-heavy material, where a clean cut can often sound more natural than forcing the audio to cover a large timing gap. A producer editing a podcast pause, a voice-over pickup, or a line read usually gets a better result by deciding first whether the timing problem is small enough to stretch at all. If you hear hollowing, blur, or a watery sheen, the source is telling you to back off and choose a different edit.
Practical Workflows for Music and Speech
Music production decisions
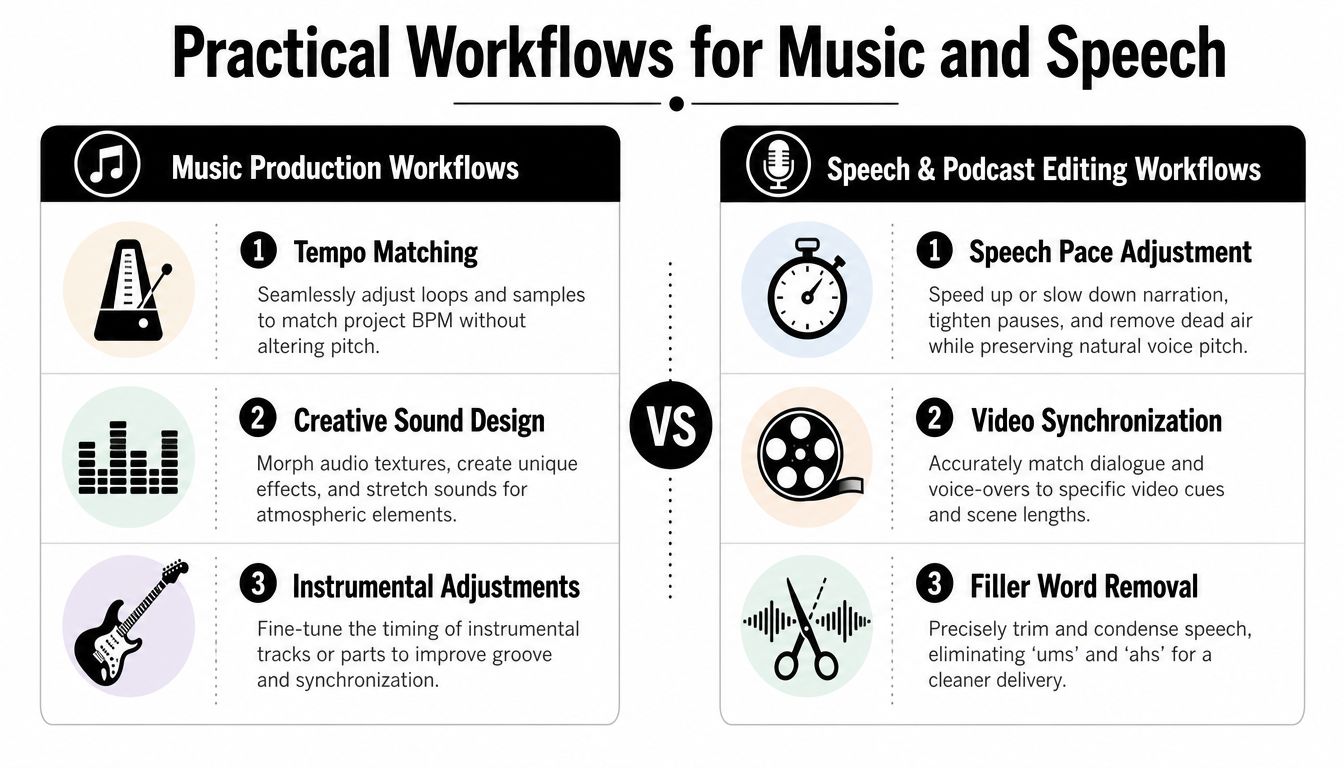
For music, time stretching is often part of the composition itself. You might match a drum loop to a project tempo, fit a sampled phrase into a beat, or reshape an acapella to sit more naturally over a new musical backing. In these cases, the goal is usually musical coherence, so preserving rhythm and tone matters more than making the edit disappear completely.
If the source is percussive, choose the setting that protects the transient. If the source is sustained, lean toward the mode that keeps harmonic content stable. Producers often test a few settings with the same clip because the best result depends on what's dominant in the sound, not just on the stretch amount.
Practical rule: if the edit point falls on a drum hit or a syllable boundary, listen for the transient first, not the pitch.
Speech, podcast, and video editing decisions
Speech is a different problem. A narration track often needs small timing shifts to fit a visual cue, tighten pacing, or remove dead air without sounding cut up. That's where time stretching can help, but it's also where overuse becomes obvious fastest.
For dialogue-heavy material, ask one question before stretching anything, would a clean cut sound better? If the pause is long, the answer is often yes. If the timing problem is tiny and the sentence should remain continuous, then stretching can be the cleaner choice. This trade-off matters because speech quality drops quickly when you ask the software to do too much, and a well-placed edit can avoid that entirely.
A useful workflow for creators is to clean the audio first, then stretch it only if needed. Noise reduction, hum removal, and echo cleanup should happen before any timing change, because stretching can make flaws more obvious. The principle is simple, don't magnify a bad recording before you've made it as clean as possible.
The most overlooked skill is restraint. If a line already has natural rhythm, keep the edit simple. If the timing problem is between words, not inside them, re-editing often wins. That's the decision most music-focused guides skip, and it's the one that matters most for podcasts, interviews, and voiceover-heavy work.
Your Checklist for High-Quality Time Stretching
A good time-stretching decision starts before you touch the tool. First, name the job clearly. If you need tempo matching, sample alignment, or dialogue sync, stretching may be the right move. If the problem is a bad pause, a filler word, or a sentence that needs rebuilding, a cut is usually the cleaner answer.
Then identify what you are working on. Speech, tonal material, and percussive audio react differently, the way a photo editor handles a face, a skyline, and a moving crowd in different ways. Use the method that protects the part listeners will notice first, whether that is harmonic smoothness, transient clarity, or a line that still sounds like one continuous thought.
Use the limits as guardrails
Practical ranges help keep you honest. Keep speech around ±30%, composite music around ±10%, and sensitive solo material such as piano around ±3% if you want to stay in safer territory, as outlined in Steinberg's WaveLab guidance.
A simple checklist keeps the work under control:
- Define the goal clearly: tempo match, dialogue fit, pacing fix, or creative effect.
- Clean the recording first: reduce noise and obvious defects before stretching.
- Match the algorithm to the source: tonal, speech, or transient-heavy material each asks for a different approach.
- Stretch conservatively: stay inside the range that sounds natural for the material.
- Listen for the failure modes: watery vocals, smeared drums, phasey dialogue, or hollow tone.
- Stop and re-edit if needed: if the artifact is louder than the fix, make the cut instead.
For speech-heavy material, the smartest checklist item is often the last one. If the line can be fixed by moving a pause, trimming dead air, or joining two clean edits, that usually beats forcing the software to reshape the sentence. Time stretching is useful when the timing problem sits inside an otherwise good take. Re-editing wins when the problem is really about arrangement, not duration.
That decision matters because stretching is a tool for preserving continuity, not for repairing every awkward line. Use it on material that needs to stay intact, and keep your edits simple when the natural rhythm is already doing the work. That keeps the process practical instead of guessing at how much processing a line can handle.
That workflow keeps time stretching useful instead of risky. It turns a tricky post-production task into a choice you can repeat with confidence.